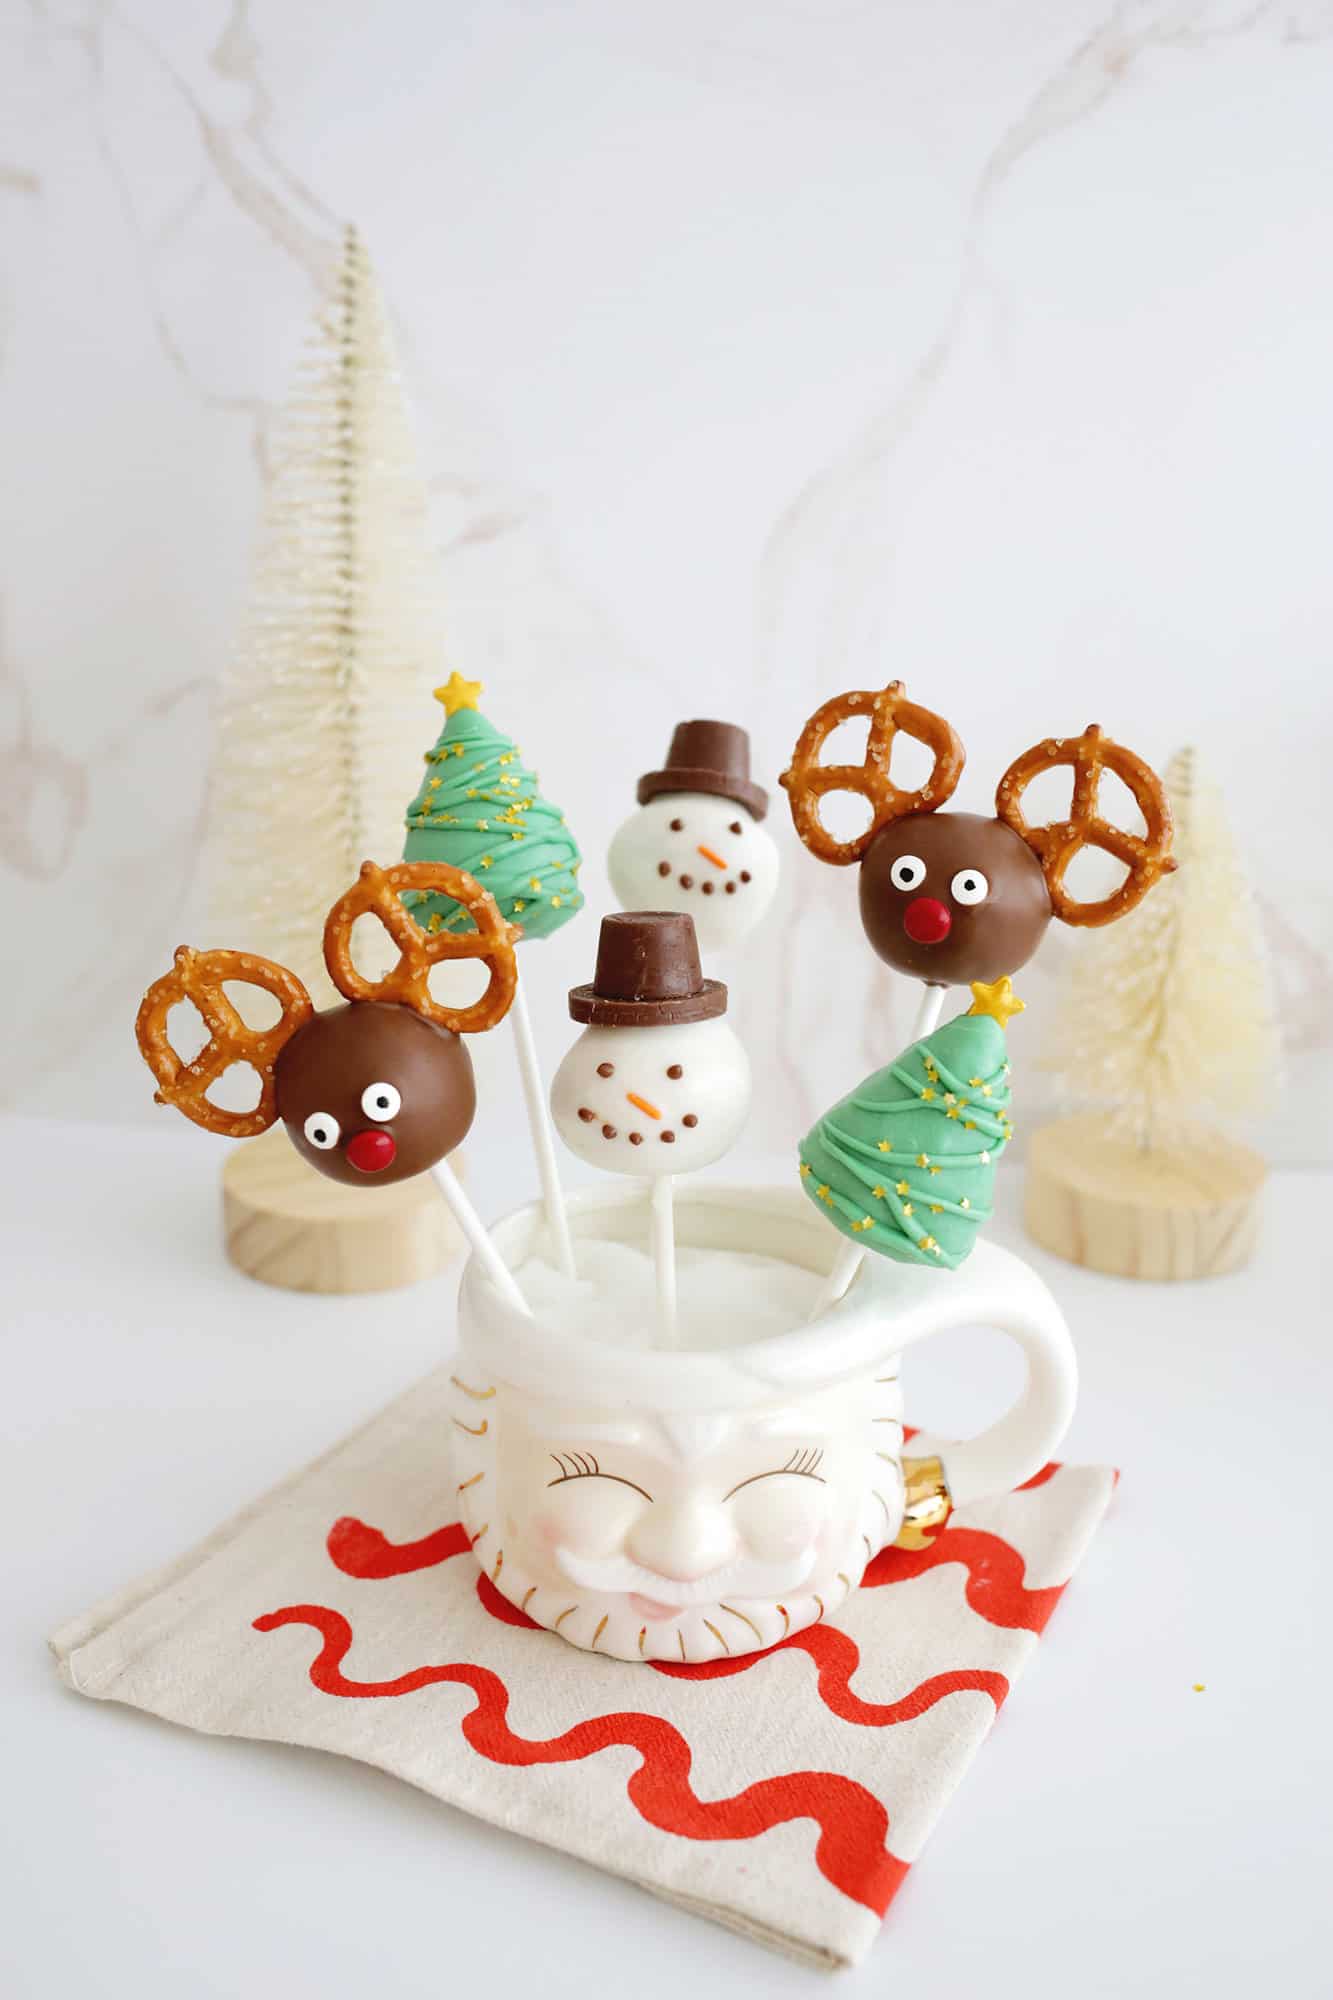
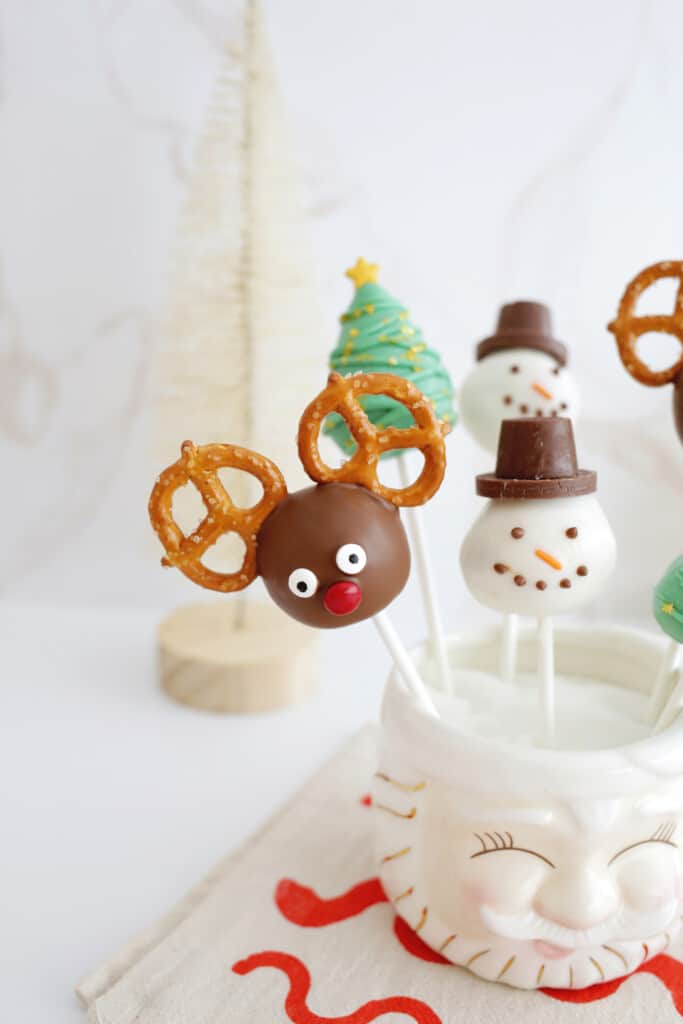
Christmas is the best time of the year for treats and we have easy Christmas cake pop ideas that are sure to be a dessert hit with kids and adults at your next holiday party. With just a few edible decorations, you can make reindeer, snowmen, or Christmas tree cake pops to celebrate the season.
We’ll also show you the secret to making cake pops in just minutes if you want a handy shortcut to get the decorating part faster, so look for that below …
Looking for more Christmas desserts? Check out:

What You Need to Make Christmas Cake Pops:
- Cake mix: You can use any flavor cake mix: chocolate, vanilla, red velvet, yellowetc. Be sure to check your cake mix to ensure you have whatever other cake ingredients the mix recommends for baking (eggs, butter, oil, etc.).
- Can of frosting: You will also need one container of store-bought frosting. I like to use anything with a simple texture like vanilla, chocolateor strawberriesYou can also mix flavors like cream cheese frosting with red velvet cake for a festive flavor. If you have a favorite buttercream recipe you want to use, you can use that in place of store-bought.
- Cake pop sticks: While it’s most common to use sticks like thisyou can also use forks or edible items like pretzel rods!
- Candy melts: these discs of chocolate are the easiest way to get that chocolate coating as they melt easily and come in lots of color options.
- Microwave or Double Boiler: You can melt candy melts in the microwave, but you can also use a double boiler to do it on the stove top or a chocolate melter like this one.
- Edible decorations: For these Christmas cake pops, you’ll want mini pretzels, candy eyesand red M&Ms for the reindeer, chocolate coins, Rolo or mini Reese’s cups, and orange sprinkles for the snowmen, and sprinkles or mini M&Ms to decorate your Christmas tree.
Looking for more cake pops? Check out our Chocolate Cake Pops, Birthday Cake Pops, Halloween Cake Pops, and Oreo Cake Pops!


How to Make Christmas Cake Pops
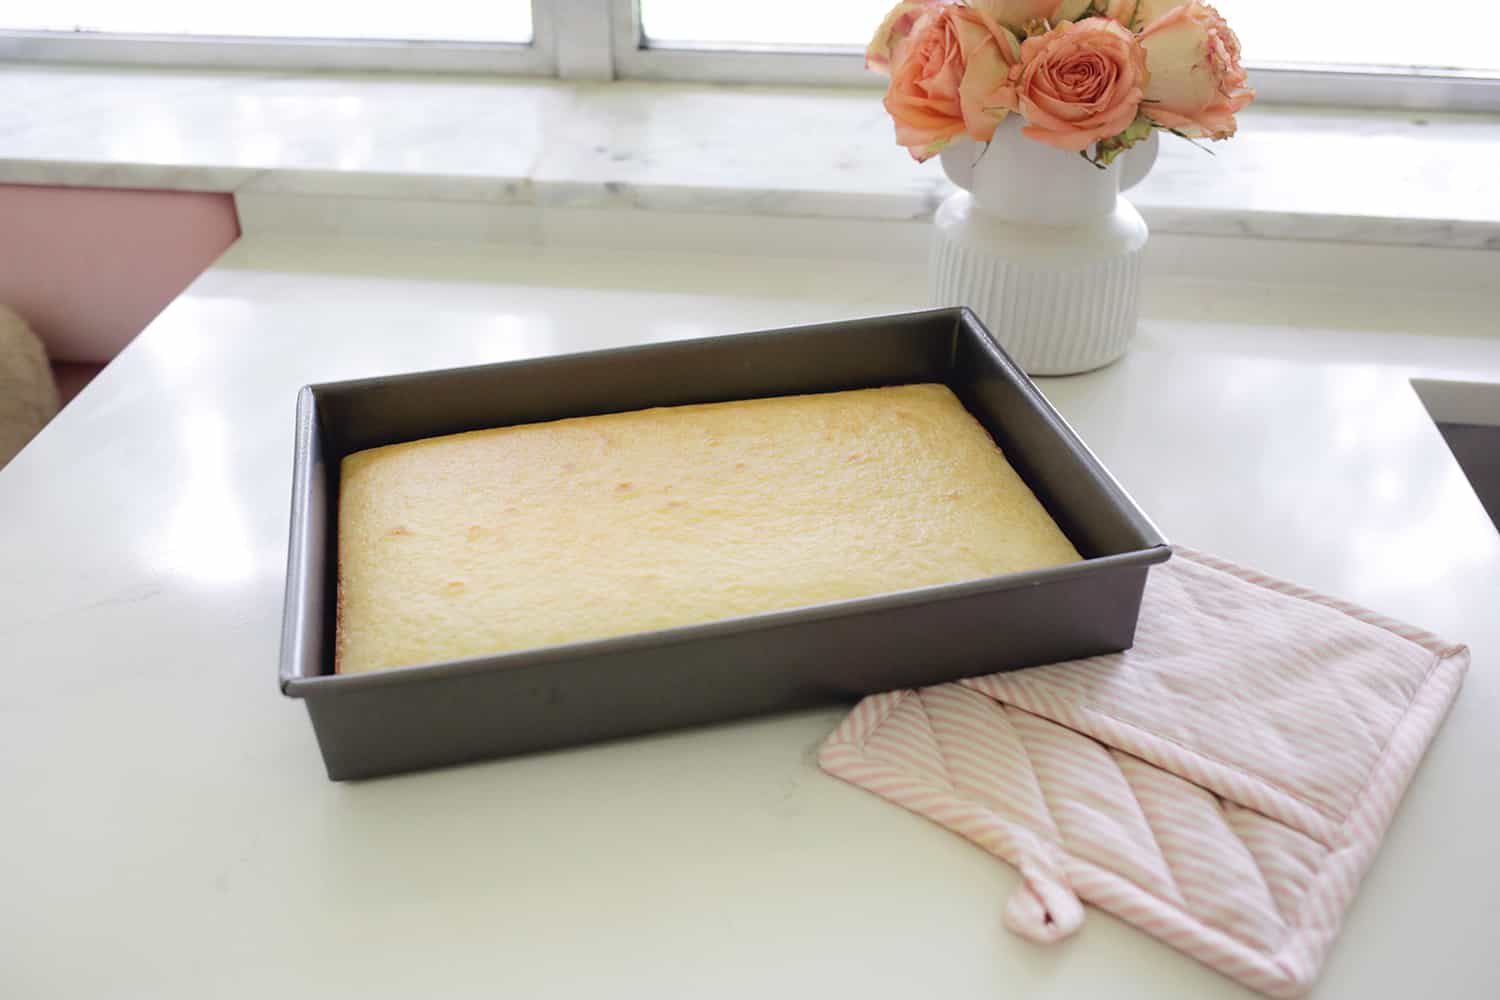
1. Bake the cake: Create your batter by using an electric mixer and incorporating the listed ingredients for that boxed cake. Bake your cake batter according to the package instructions and allow to fully cool in the pan.
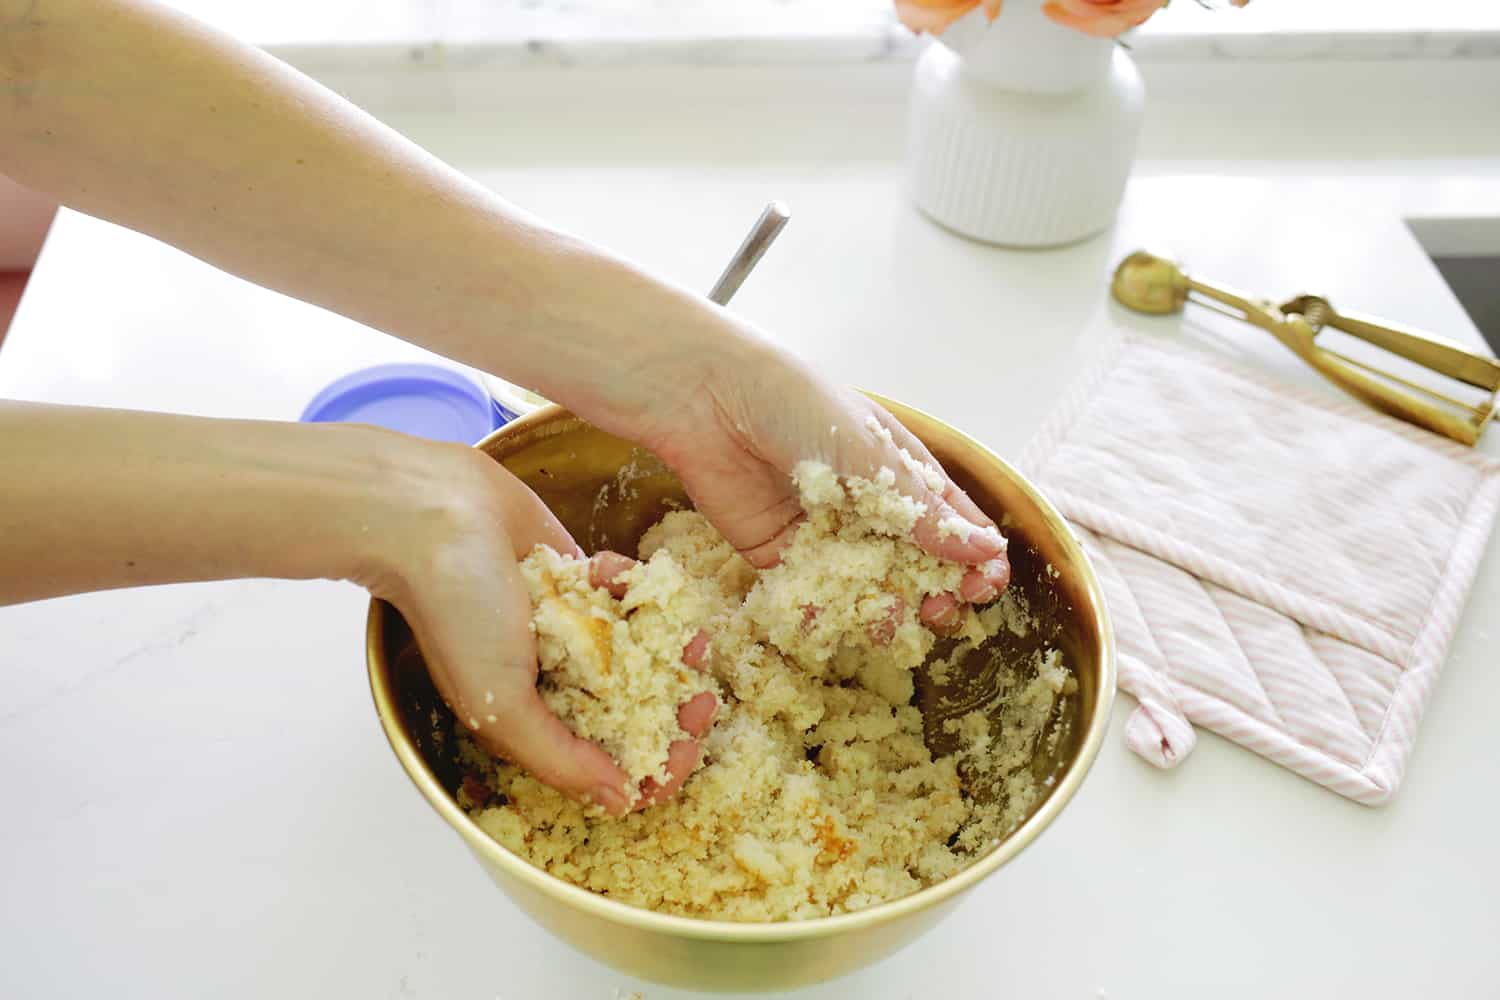
2. Add the frosting and mix: Spoon the baked cake into a large mixing bowl and break up a bit by hand so you have crumbled cake. Add 2/3 of the container of frosting (using the full container makes the cake pops a bit too soft and harder to work with once we dip them in chocolate). You can mix the cake and icing with clean hands, a wooden spoon, or use an electric mixer on low speed to help combine them. The frosting is how you get cake pops to stick together, so after mixing the cake pop batter is going to be pretty soft, but moldable.
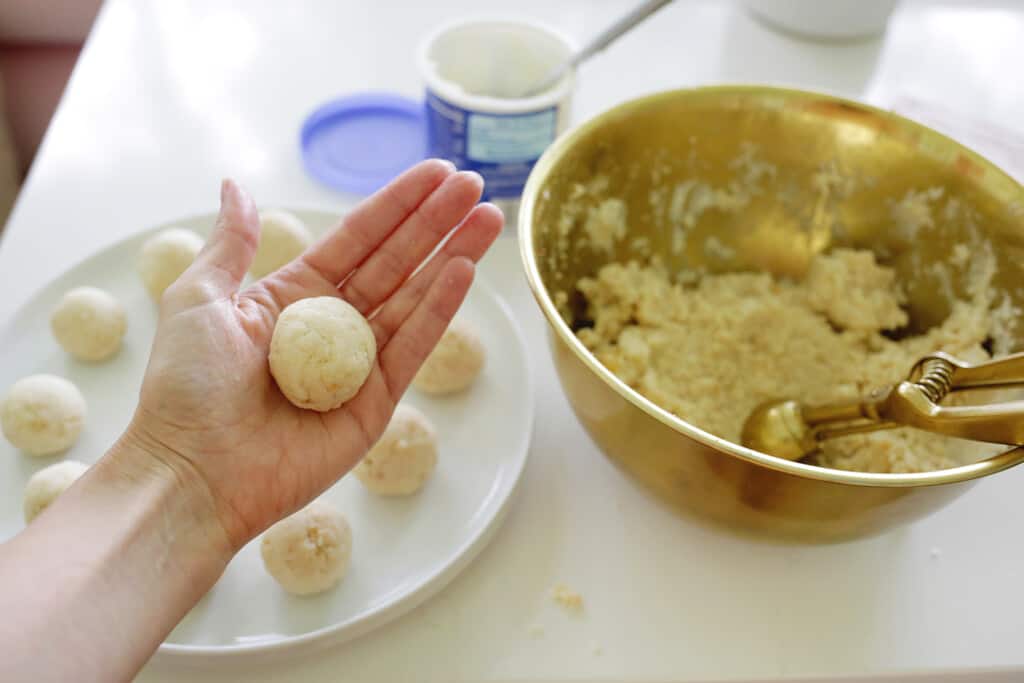

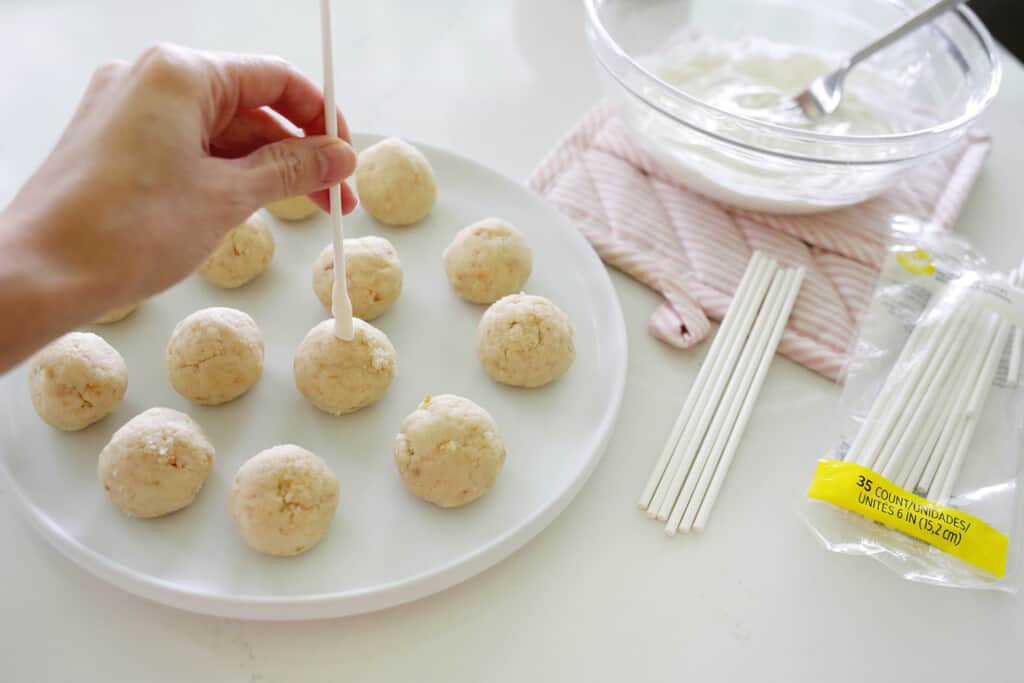

3. Roll cake balls: Form your cake pop batter into small balls (about 3-4 tablespoons each). You don’t want them to be too big, just so they easily fit in the palm of your hand.
Once you have formed all your pops (a standard size cake will make around 35-40 cake pops), put them in the refrigerator for 1-2 hours or the freezer for 30 minutes.
4. Melt your candy melts: Melt candy melts in the microwave in 30-second increments on half power. You could also use a double boiler to do it on the stove top or a chocolate melter like this one. If you need to thin your candy melts, you can stir in a teaspoon of canola or vegetable oil once melted and can reheat the chocolate for 15 seconds at a time to remelt if it starts to set up at any point.
5. Attach the cake pop stick: First, put your lollipop stick into the melted chocolate and push the stick 2/3 through a cake pop cold from the fridge.
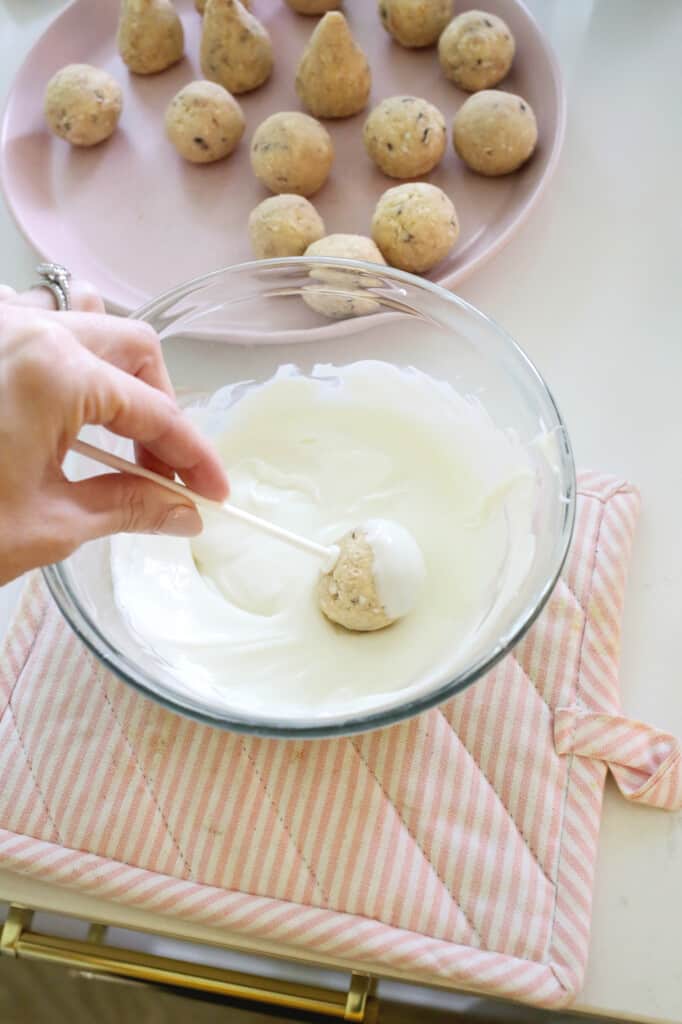

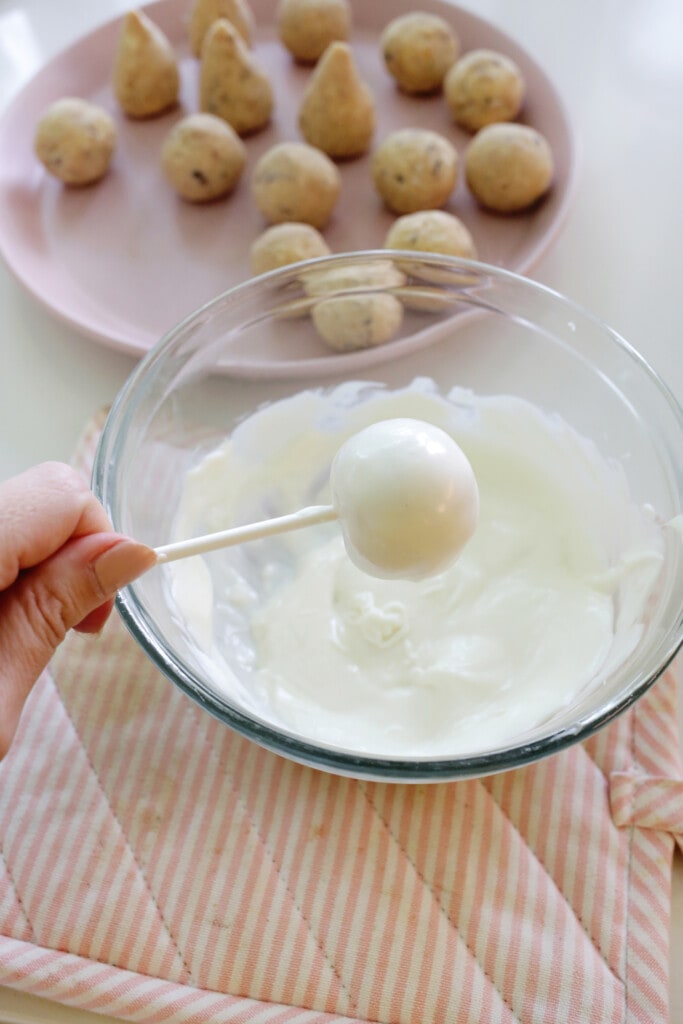

6. Dip the cake pop: Dip the attached cake pop into the melted chocolate and allow any excess chocolate to drip off the pop. Gently tap the cake pop stick on the side of your bowl to also shake off extra chocolate. Then, add any extra decorations and store the cake pop upright while it sets (unless you don’t mind a flat bottomed cake pop then you can just place them on parchment paper on baking sheets).
You can keep them upright in a number of ways, like sticking them into a container that is filled with granulated white sugar or rice or you can stick them into a block of styrofoam.

How To Make SUPER EASY Cake Pops:
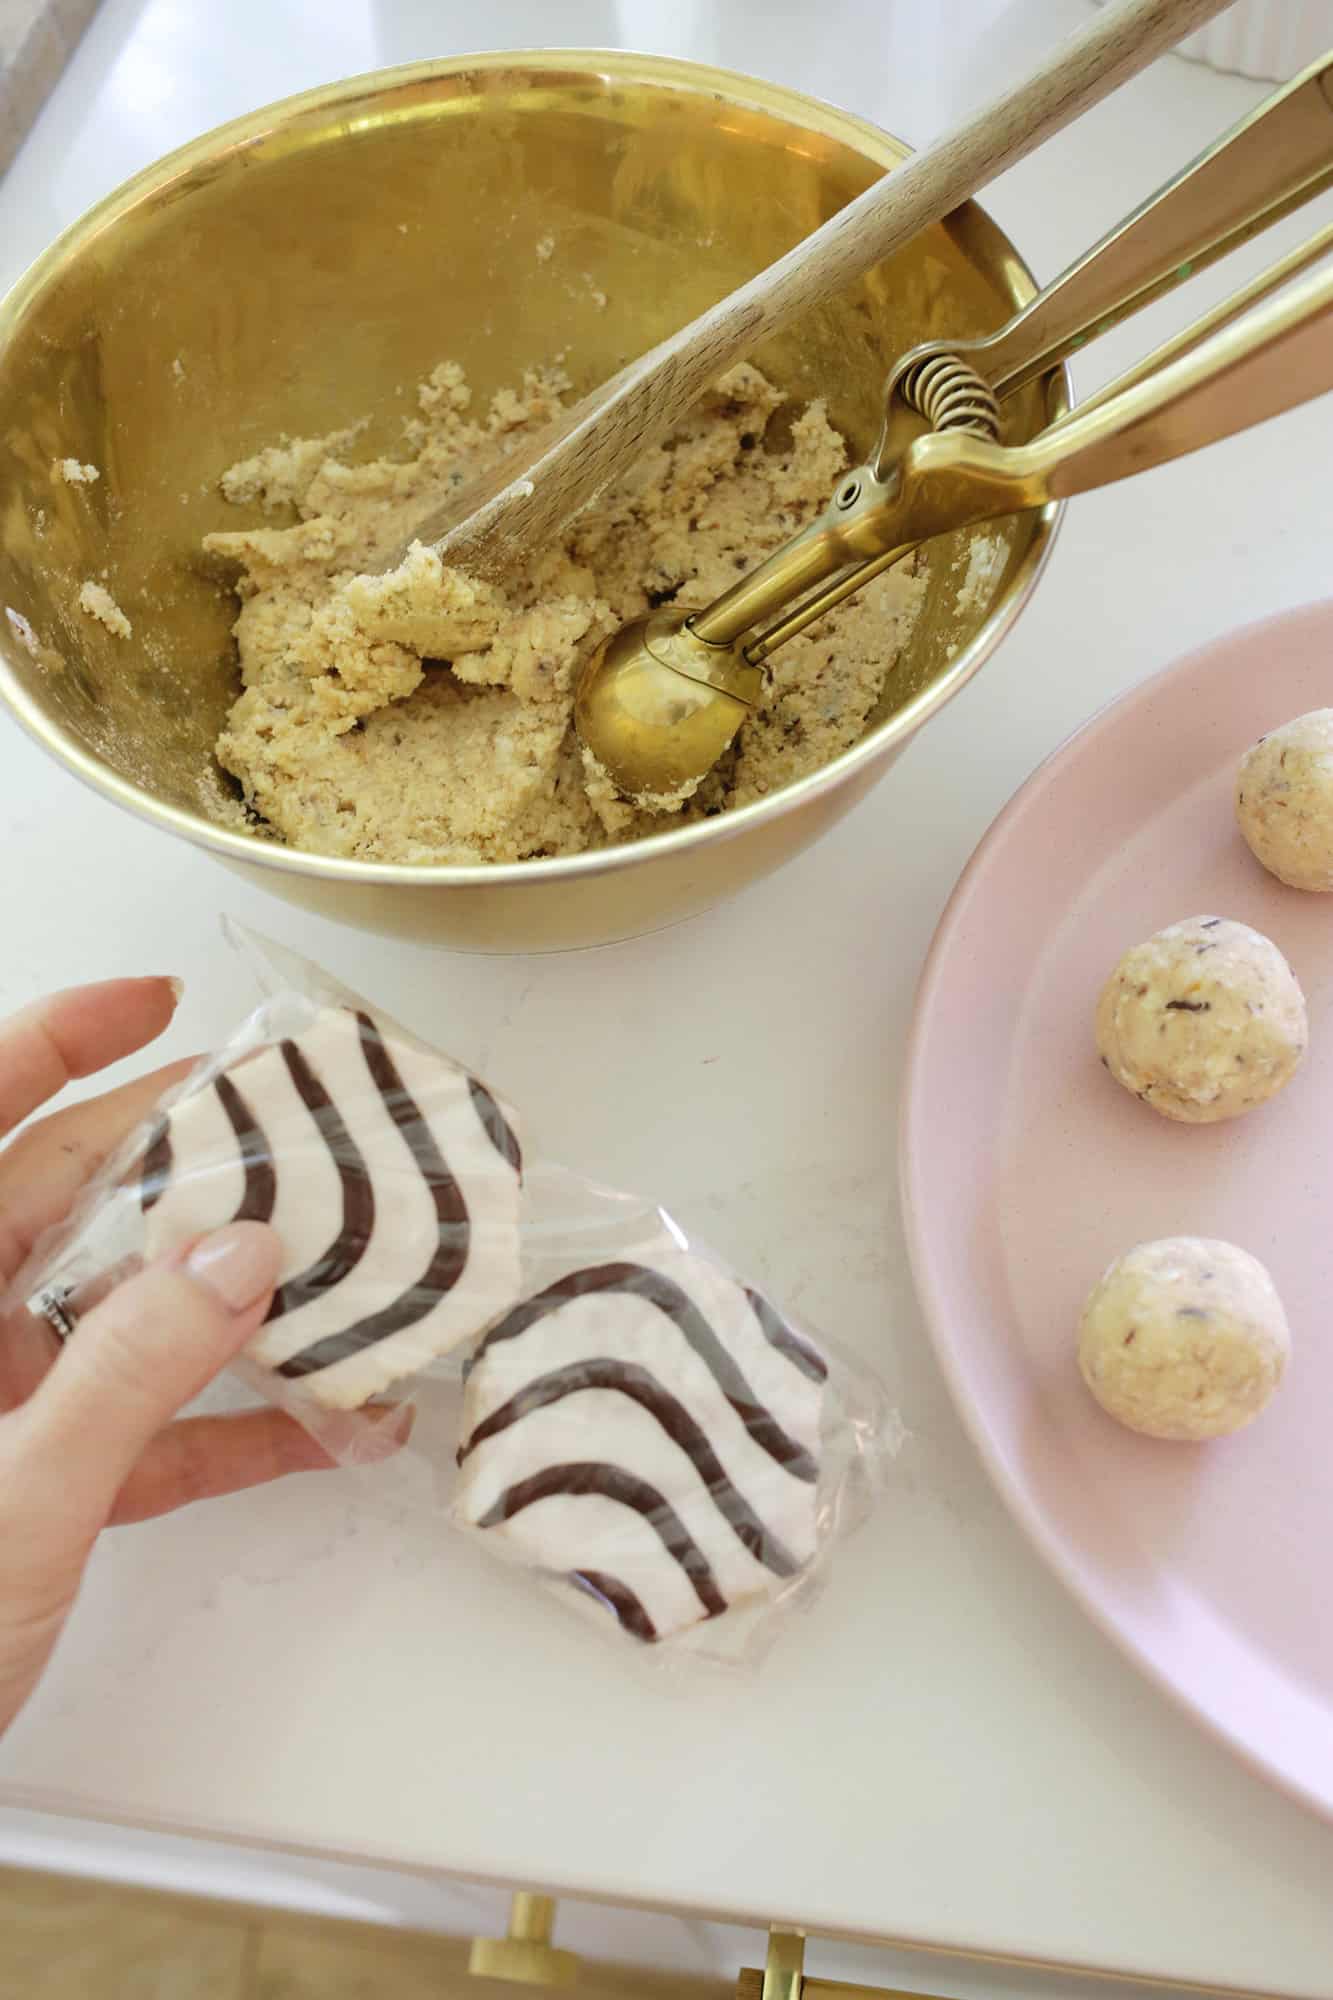
- To make your cake pops even faster and easier, try using Little Debbie Snack Cakes or Zebra CakesJust crumble them into a bowl and mash them together with a mixing spoon until you get a thick dough (it will be the taste of vanilla cake with bits of chocolate throughout). Use your small cookie scoop to scoop out balls of cake and continue to chill, dip, and decorate just like you would with the regular recipe! Such a time saver and you get about one cake pop per cake snack.
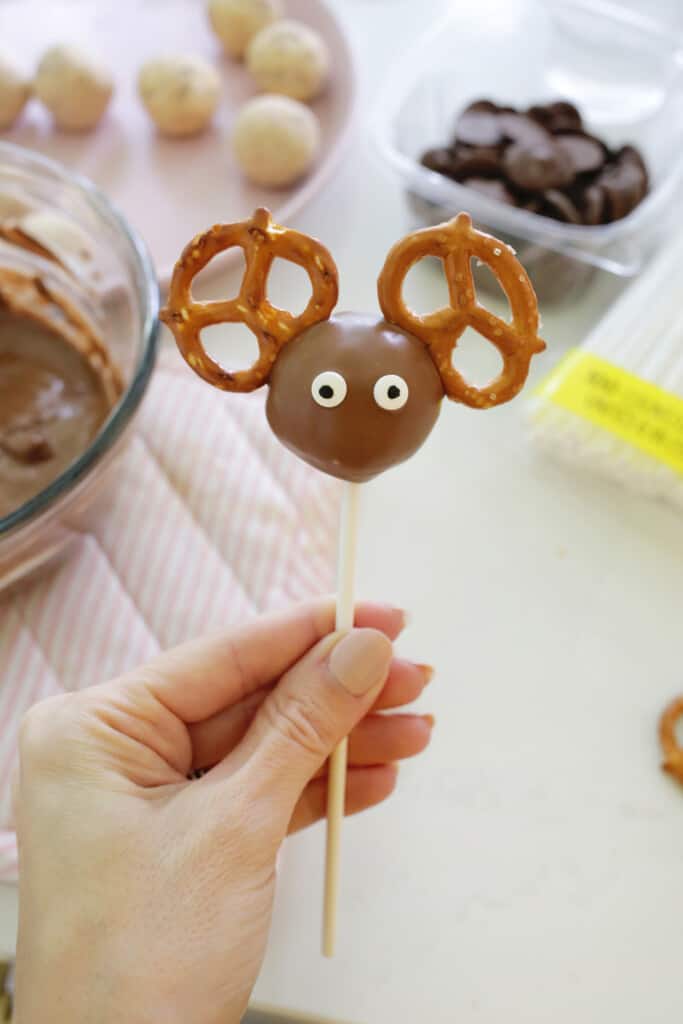

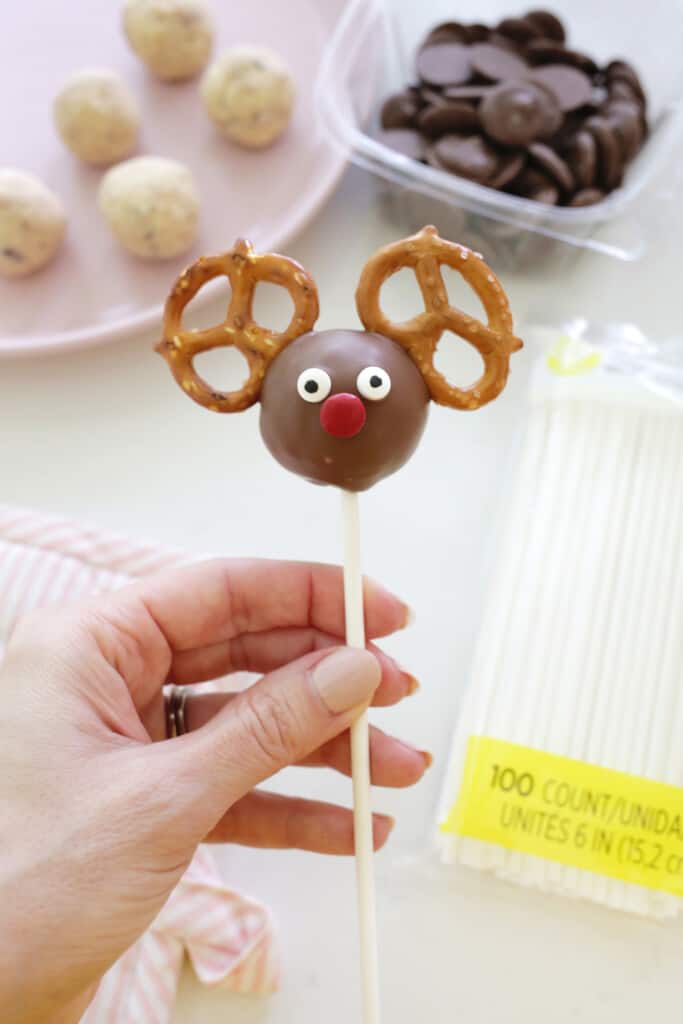

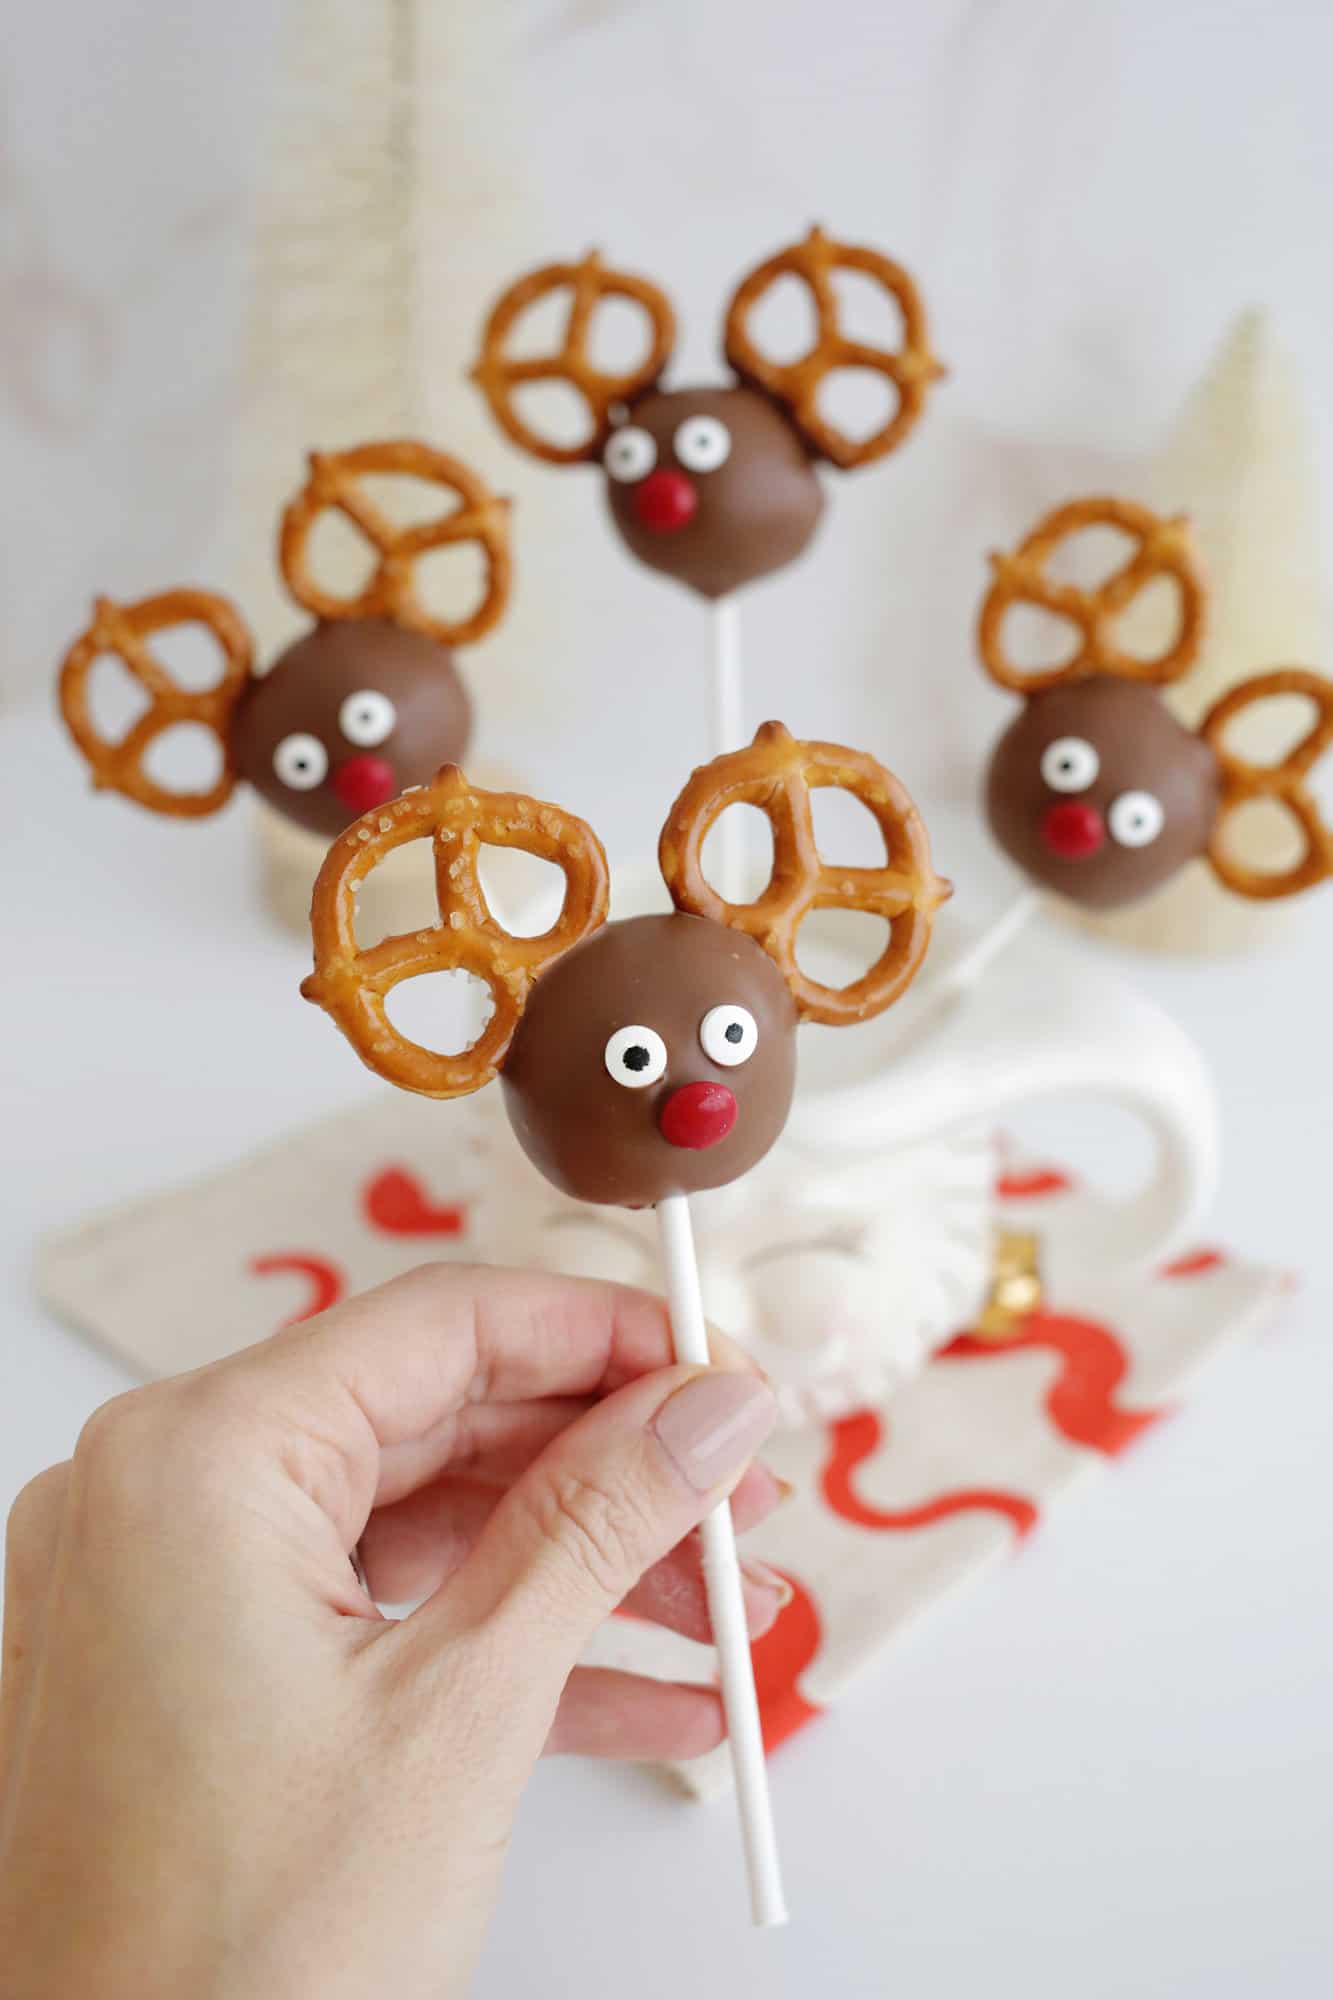

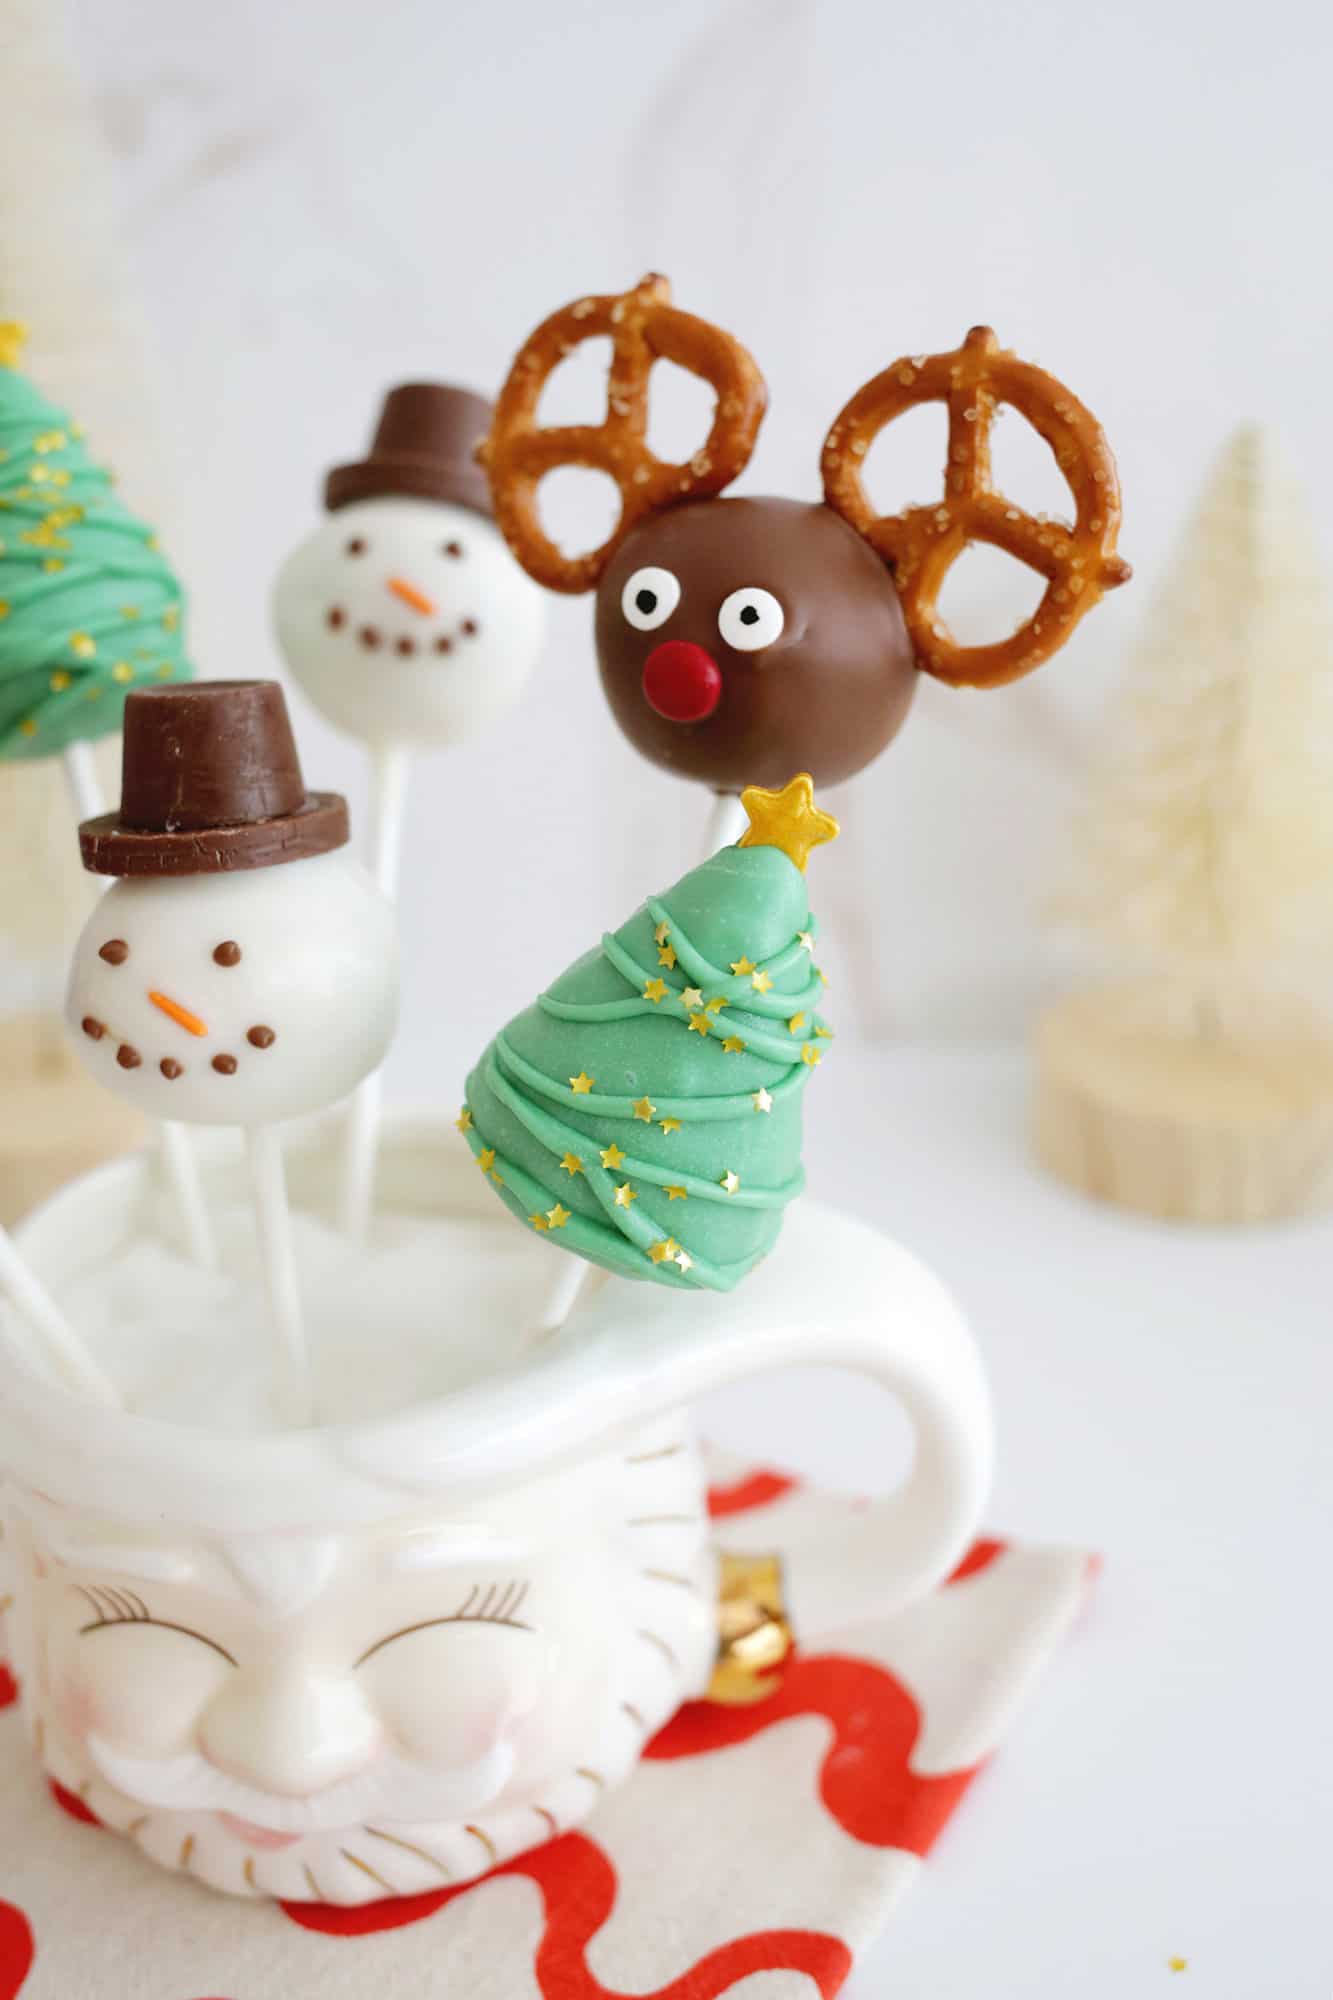
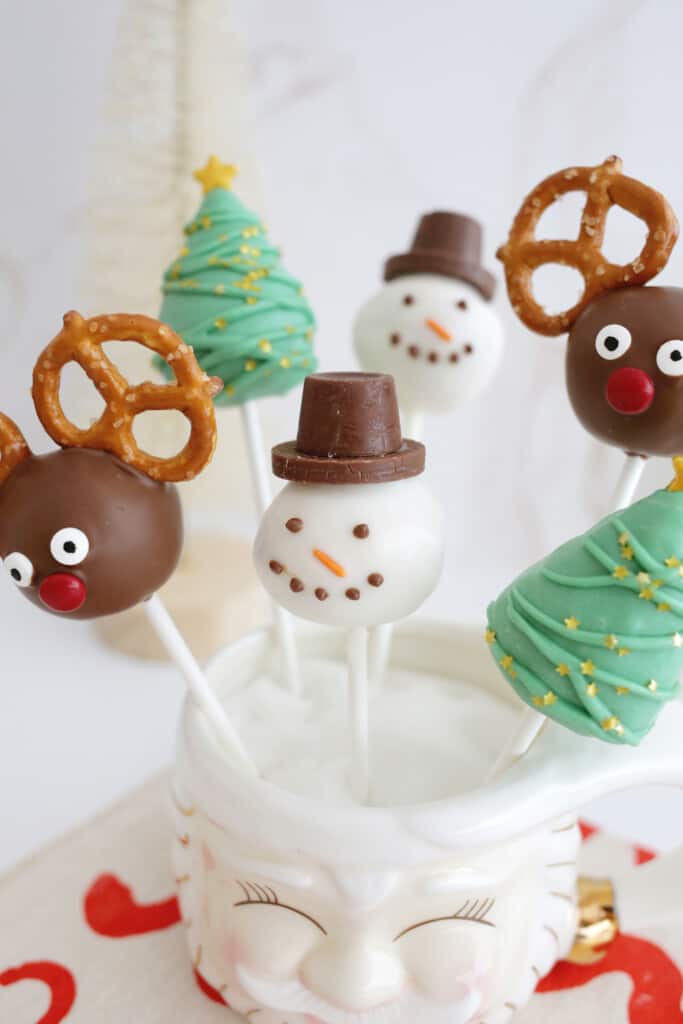
How To Make a Reindeer Cake Pop:
- Follow directions above to make a general cake pop and dip the cake pop into brown chocolate (or dark chocolate if you prefer that to milk chocolate).
- Add two mini pretzels to the head for the pretzel antlers (or break off a section of a regular size pretzel), two candy eyes, and a red M&M or red candy melts for the nose. Make sure to work quickly before the chocolate candy coating sets!
- Allow the chocolate to set and your cake pop is ready!
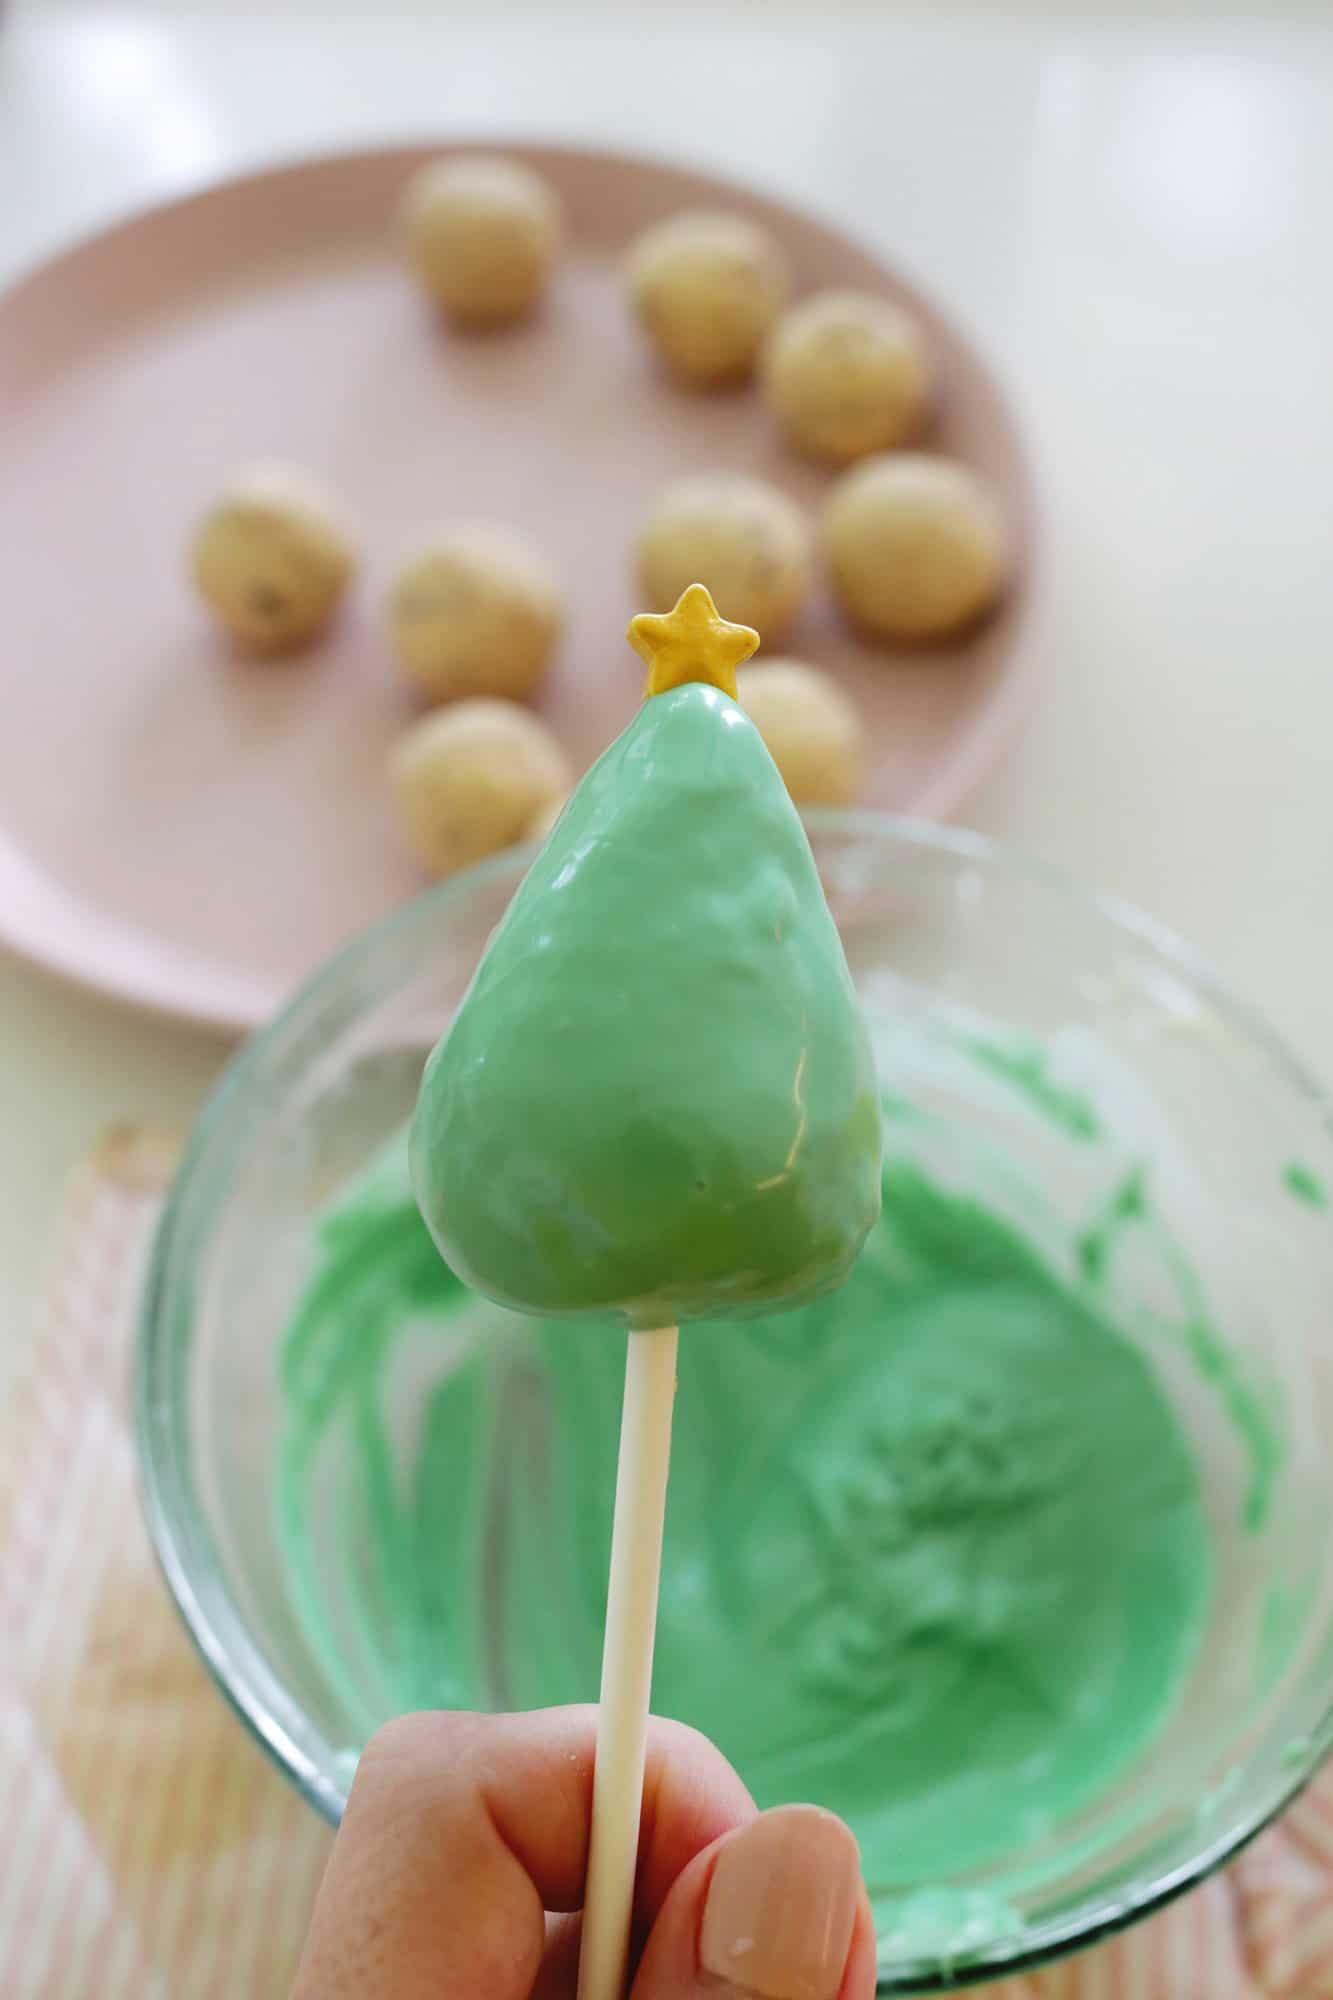

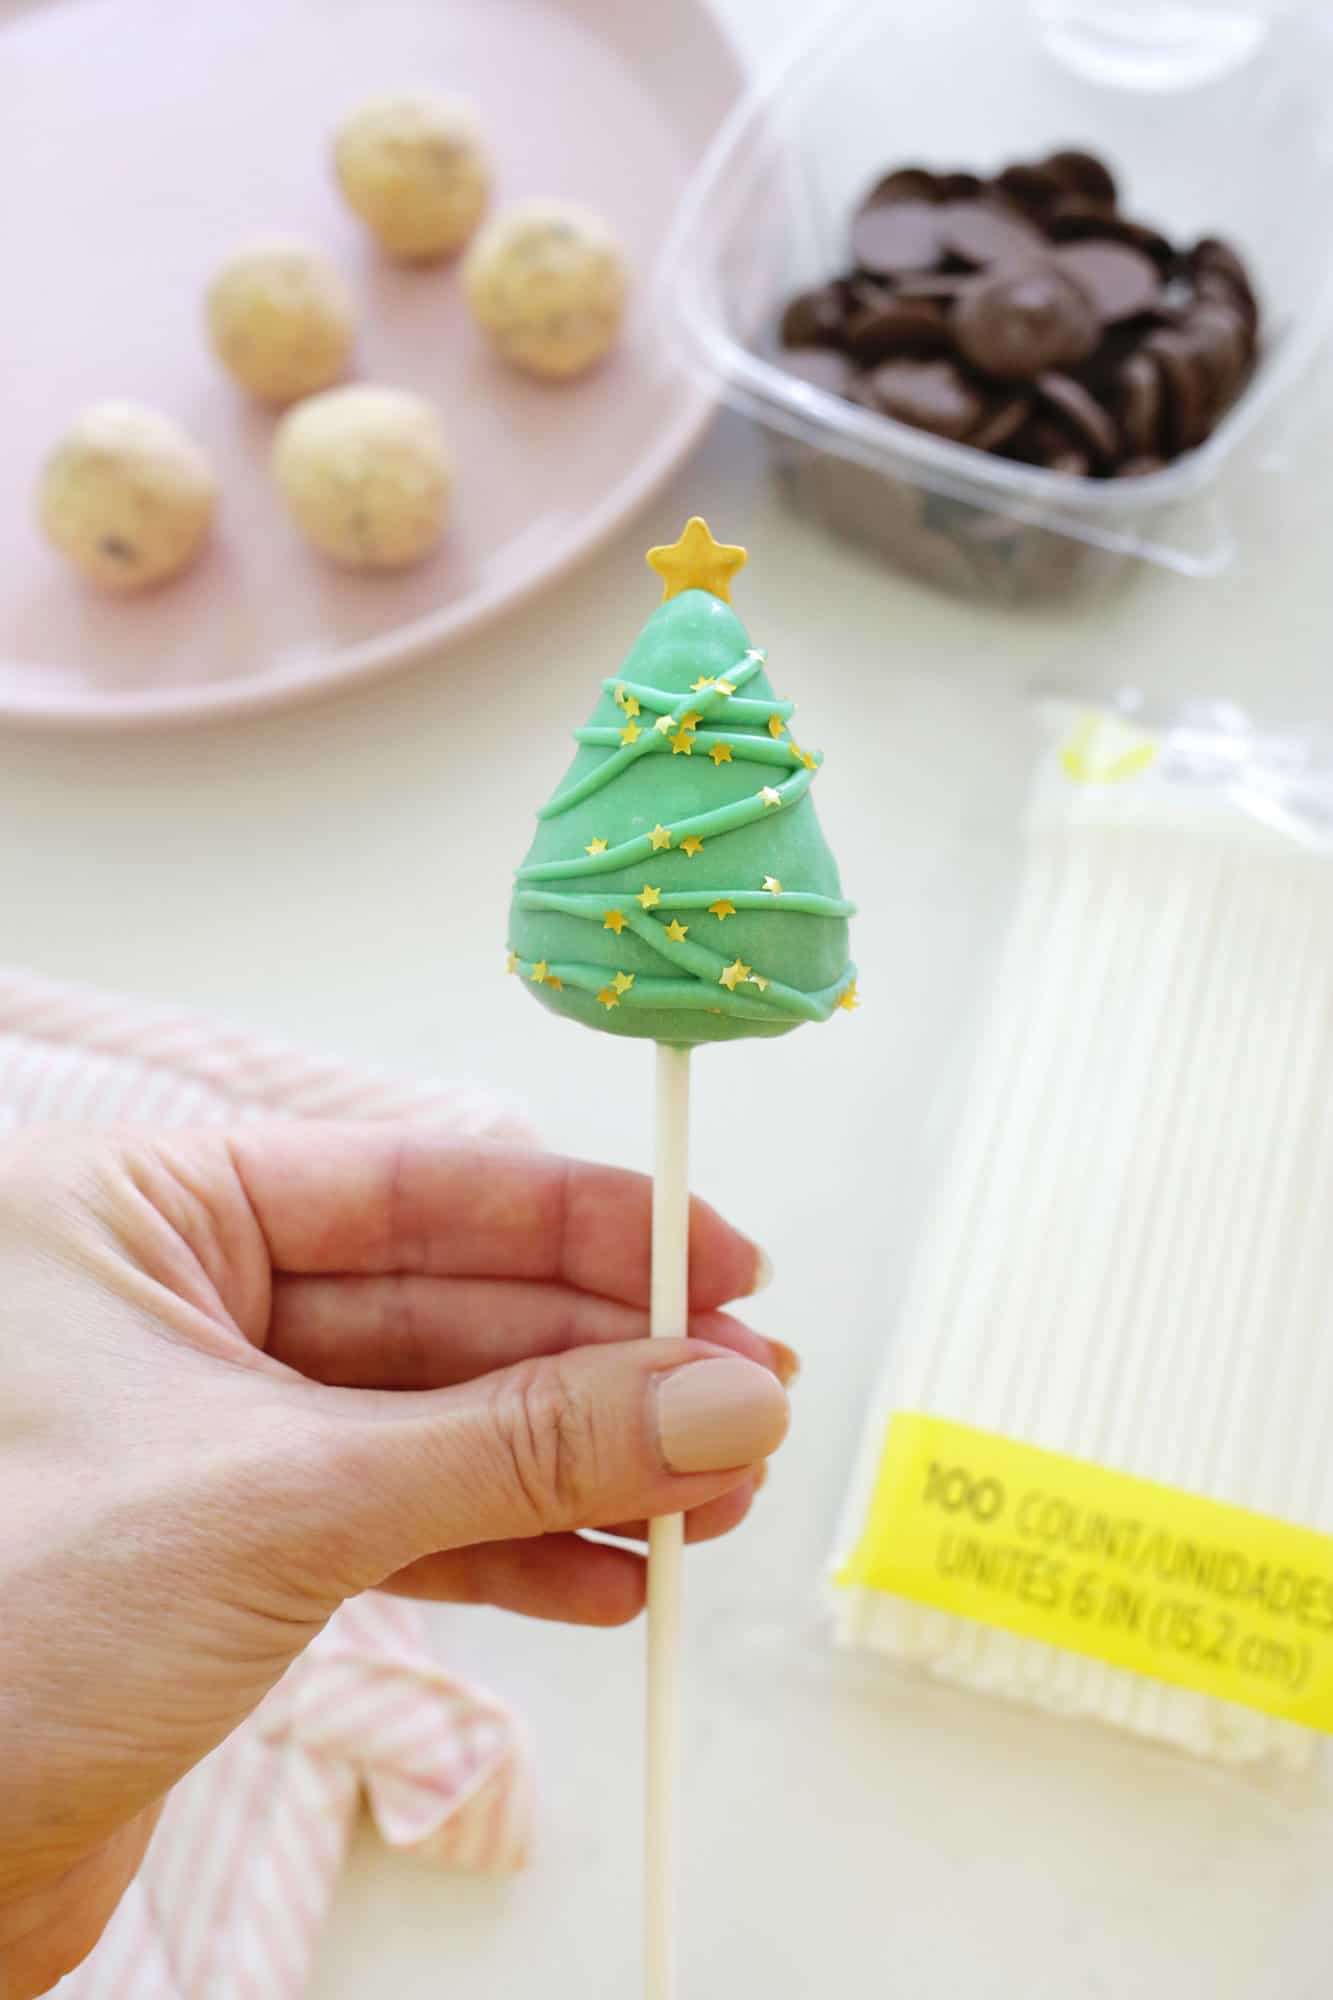

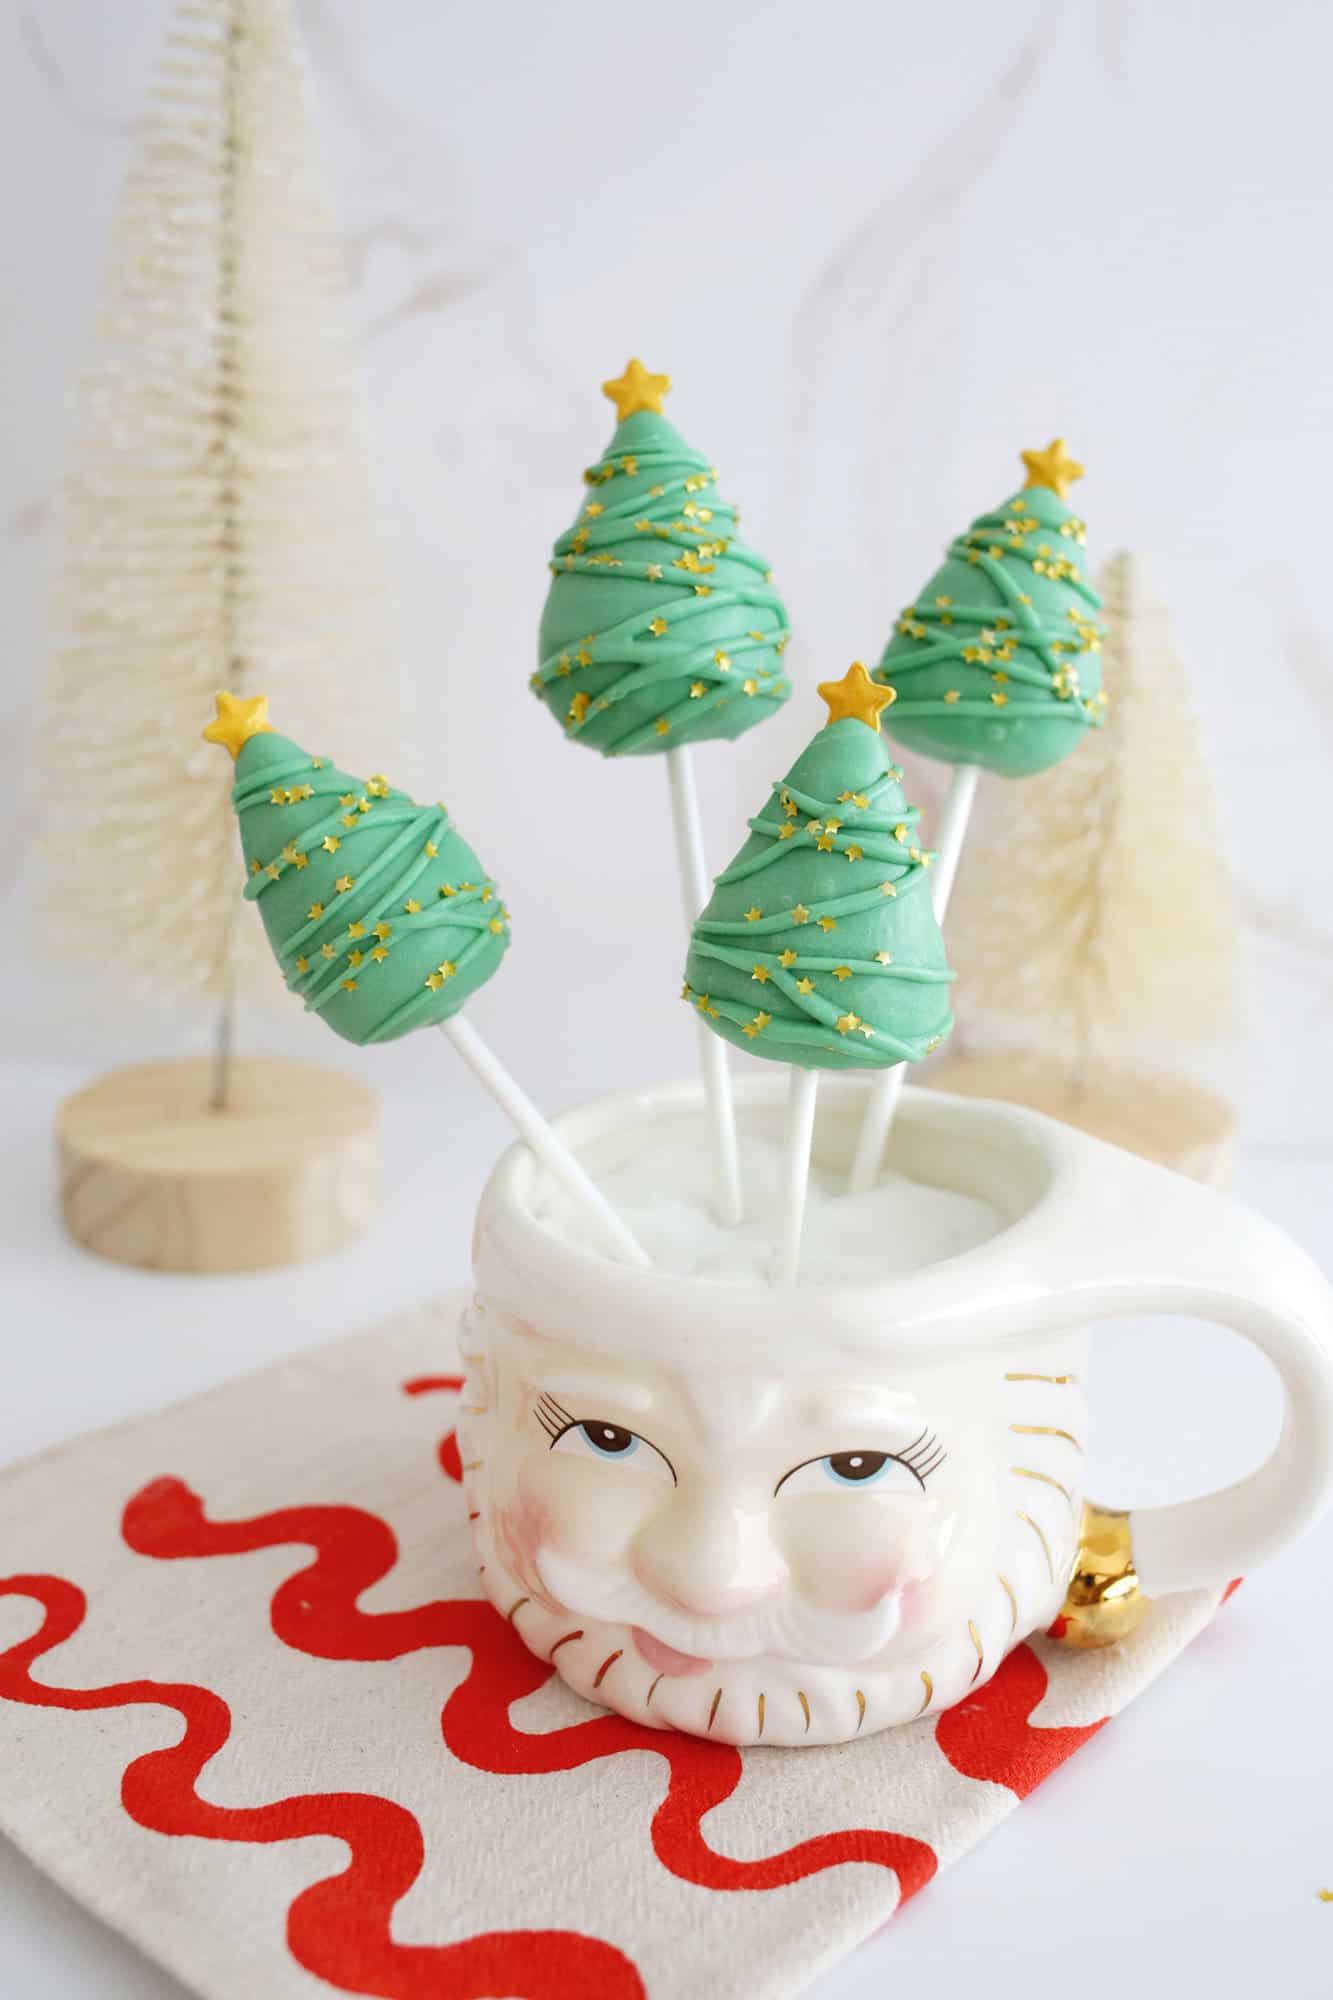

How To Make a Christmas Tree Cake Pop:
- Follow directions above to make a general cake pop but shape the cake into a cone rather than a ball. Dip the cake pop into green chocolate. Allow the chocolate candy coating to set.
- Add some melted green chocolate to a piping bag (or ziplock bag with the tip cut off) and lay the cake pop on some wax paper. Drizzle the melted chocolate over the tree back and forth and add sprinkles or small candies to decorate.
- Allow the chocolate to set and your cake pop is ready!
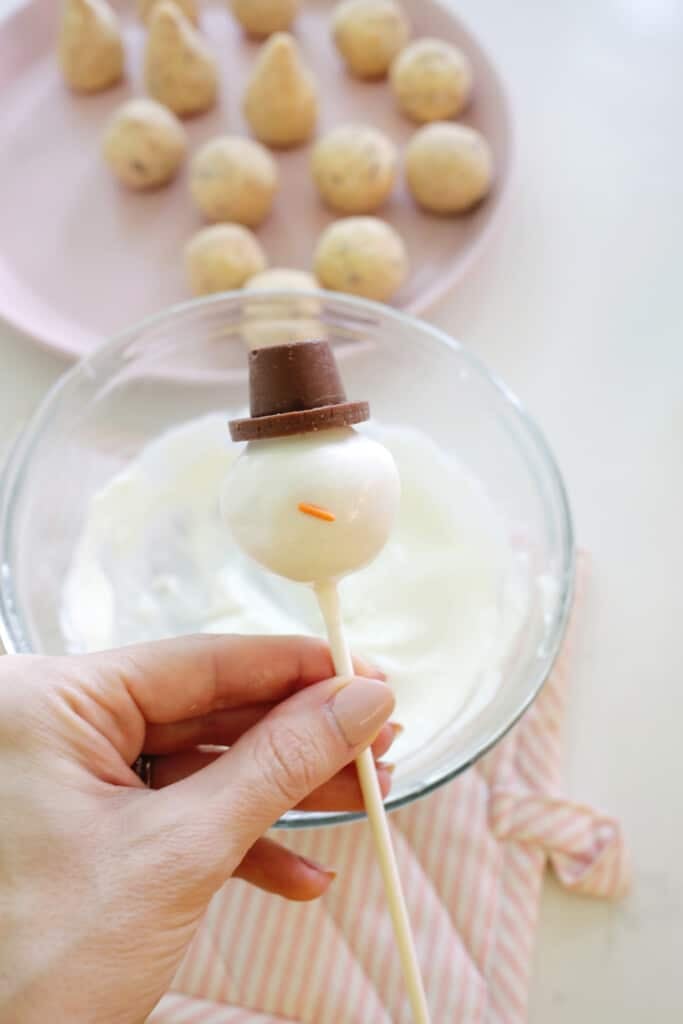

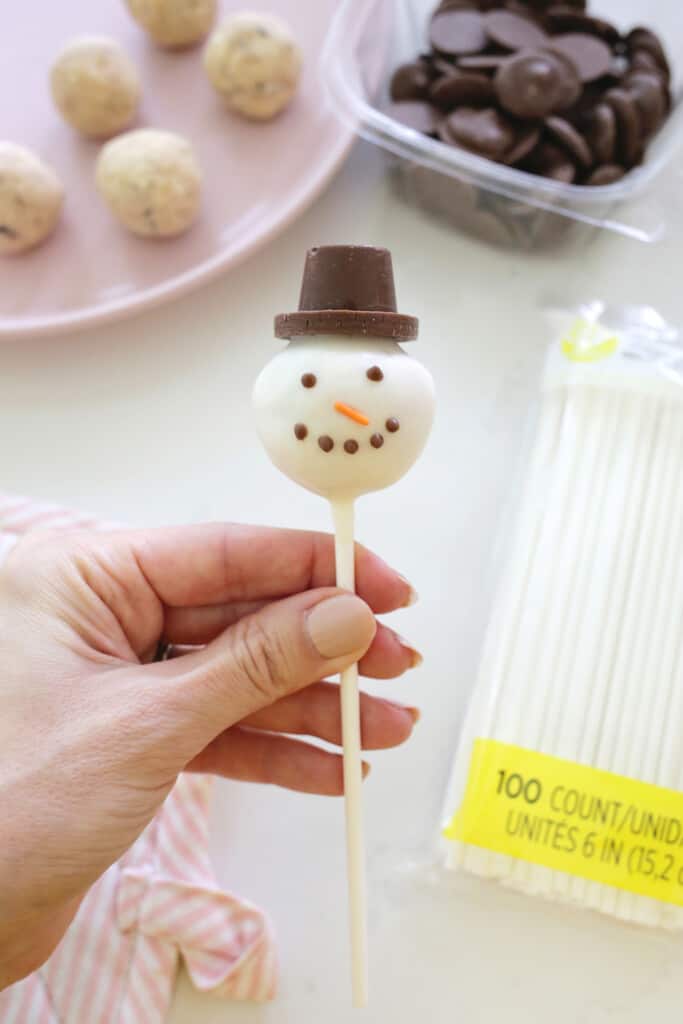

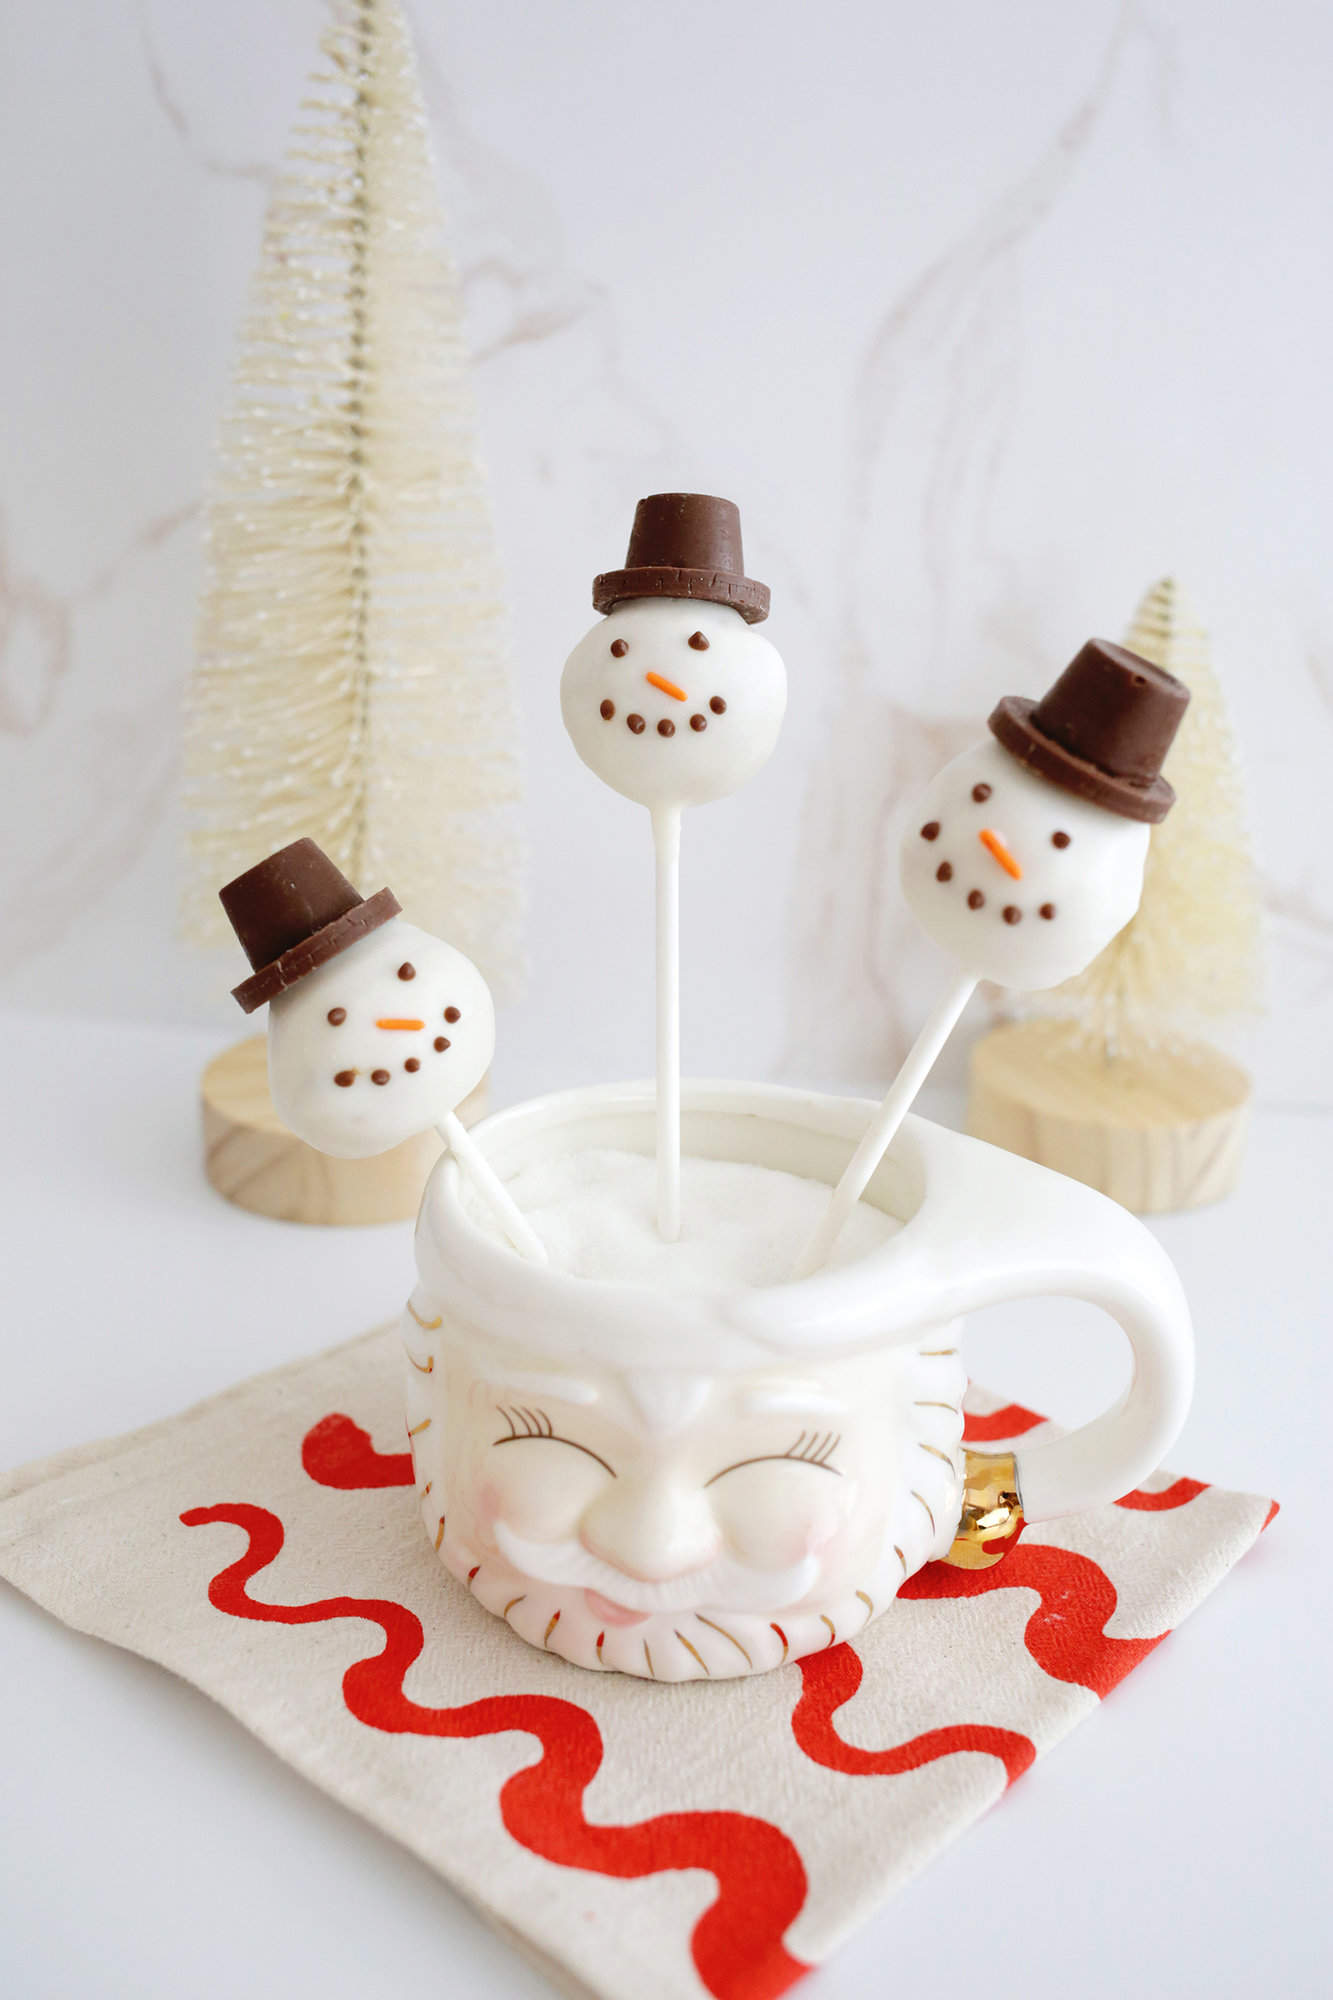

How to Make a Snowman Cake Pop:
- Follow directions above to make a general cake pop and dip the cake pop into white chocolate.
- Glue your Rolo or mini Reese’s cup to your chocolate coin with a little melted chocolate to make a hat and add to your snowman’s head. Add your sprinkle nose and allow chocolate to set.
- Once chocolate is set, melt a small amount of black or brown chocolate to pipe the eyes and mouth (or you can use black sprinkles or mini chocolate chips placed before the chocolate sets!).
- Allow the chocolate to set and your cake pop is ready!
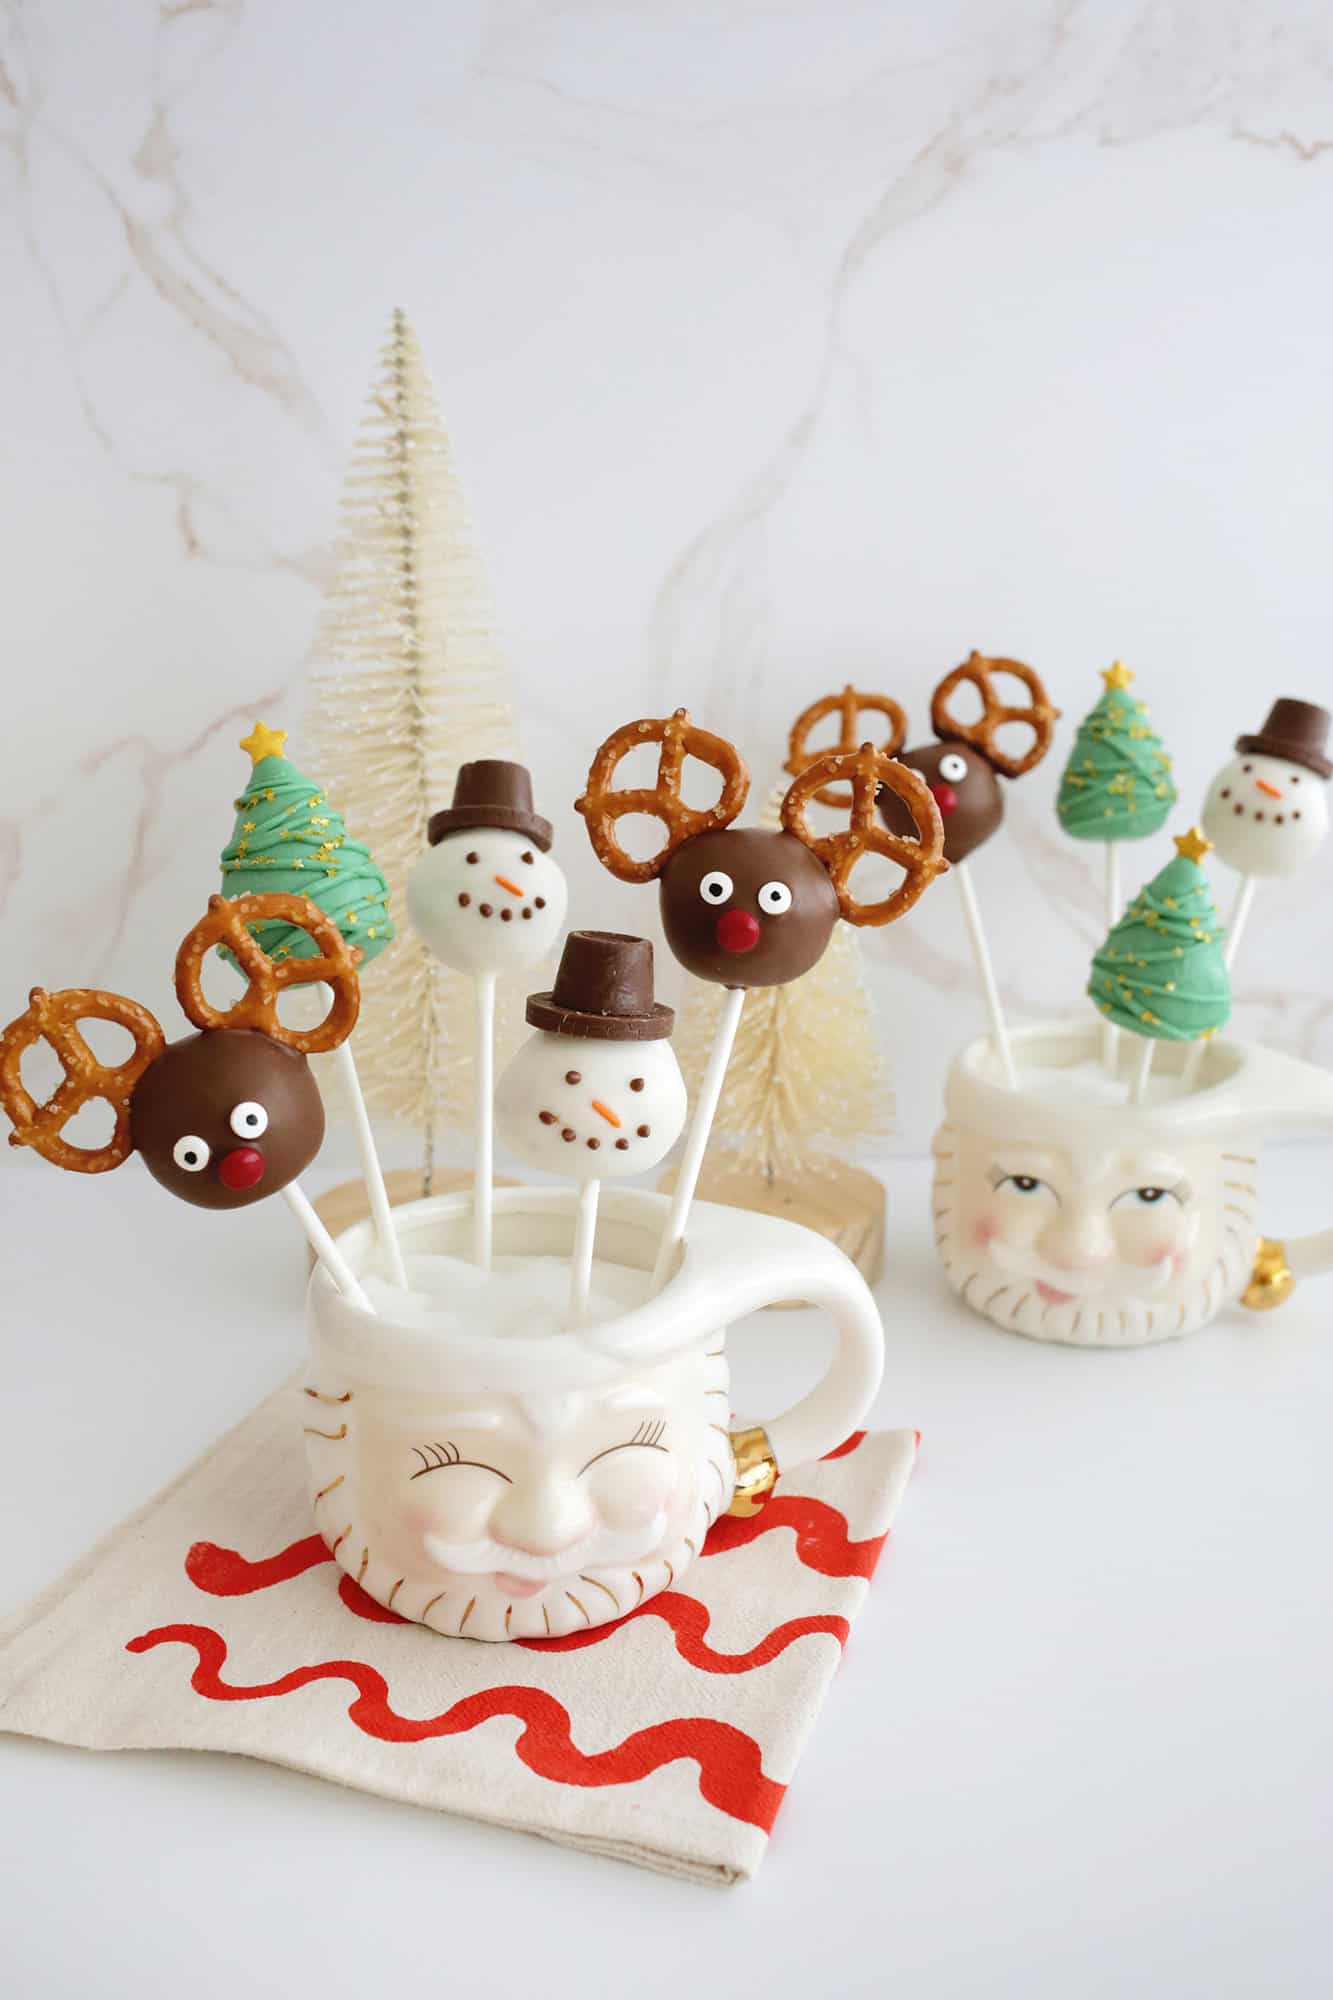

Other Christmas Cake Pop Ideas:
- Leave the cake balls round and decorate the dipped cake balls like Christmas tree ornaments with melted chocolate drizzled in other colors, sugar pearls, or dipped in sparkling sugar.



Looking for a seasonal cocktail? Check out:
FAQ
Frequently Asked Questions
How do I store Christmas cake pops?
If making these ahead of time, you can store your completed cake pops at room temperature for 1-2 weeks. You can store them for up to four weeks in the refrigerator, but the cold can create some condensation on your decorations and cause them to bleed or warp a bit.
Can you use chocolate chips instead of candy melts?
While candy melts work best for cake pops, you can also use chocolate chips instead. The mixture will be a little thicker and slightly harder to work with (but still OK). And the shell around the cake pops will be thicker once the chocolate sets.
Get our FREE recipe guide with us most popular recipes of all time!


Free Popular Recipe Guide
Our top 25 recipes of all time!

 Get the Recipe
Create fun birthday cake pops for your next party!
Instructions
Bake the cake: Bake your cake according to the package instructions and allow to cool completely.
Add the frosting and mix: Spoon the baked cake into a large mixing bowl. Add 1/2-2/3 of the container of frosting. Using the full container makes the cake pops a bit too soft and harder to work with once we dip them in chocolate. But, this is how you get cake pops to stick together—with frosting. Use clean hands to mix together the frosting and cake. The cake pop batter is going to be pretty soft, but moldable. Should feel like play dough consistency.
Roll cake balls: Form your cake pop batter into small balls (about 3-4 tablespoons each). You don’t want them to be too big, just so they easily fit in the palm of your hand. Once you have formed all your pops (a standard size cake will make around 35-40 cake pops), put them in the refrigerator for 1-2 hours or the freezer for 30 minutes.
- Melt your candy melts: Melt candy melts in the microwave in 30-second increments on half power. You could also use a double boiler to do it on the stove top or a chocolate melter like this one. If you need to thin your candy melts, you can stir in a teaspoon of canola or vegetable oil once melted and you can reheat the chocolate for 15 seconds at a time to remelt if it starts to set up at any point.
Attach the cake pop stick: First, put your stick into the melted chocolate and push the stick 2/3 through a cold cake pop.
Dip the cake pop: Dip the attached cake pop into the melted chocolate and allow any excess chocolate to drip off the pop. Gently tap the cake pop stick on the side of your bowl to also shake off extra chocolate. Then, add any extra sprinkle decorations and store the cake pop upright while it sets (unless you don’t mind a flat bottomed cake pop).
Notes
Tips for Making Cake Pops:
-
- Add your icing to your cake crumble in small quantities so you just get the point of having enough for it to stick together. It should feel like play dough.
-
- Make sure your cake balls are well chilled before coating.
-
- Have your decorations nearby and prepped to go so you can attach them while the chocolate is still melted.
-
- You can use a tall glass to pour your melted chocolate in (or melt it in a microwaveable mug) so you have a little dunk tank to fully submerge your cake pop into.
nutrition
Nutrition Facts
Birthday Cake Pops
Amount per Serving
% Daily Value*
* Percent Daily Values are based on a 2000 calorie diet.
Notice: Nutrition is auto-calculated, using Spoonacular, for your convenience. Where relevant, we recommend using your own nutrition calculations.
